Barn doors aren’t just for barns anymore—they're a stylish, space-saving upgrade that can turn any doorway into a statement. This door type is fast becoming a favourite for homeowners worldwide, a sleek alternative to traditional swinging doors. Thanks to the convenience of pre-made and bundled components, knowing how to install a barn door kit is as simple as…following this guide!
Whether you prefer a rustic household aesthetic or a functional vibe, barn door kits provide everything you need, including the door itself and all necessary hardware. Installing them yourself is also a really easy way to enjoy the mental benefits of DIY without having to become a master carpenter.
In this guide, we’ll walk you through installing a barn door kit, covering everything from preparation to final adjustments. By the end, you’ll be able to enjoy a perfectly mounted barn door that glides smoothly along its track.
So, ready to “slide” into DIY mode? Let’s go!

Tools & materials you’ll need
Before getting started, gather the essential tools and ensure your barn door kit includes all the necessary components.
Tools
- Drill
- Screwdriver
- Measuring tape
- Level
- Pencil or marker
- Stud finder
- Wrench
- Safety goggles (recommended)
Kit components
- Barn door
- Any decorative pieces
- Flat track & junction plates (if needed)
- Mounting hardware & bracketry
- Roller set
- Barn door track stopper set
- Barn door guide (floor, wall and/or ceiling mounted)
- Anti-jump bumpers
- Barn door soft-close mechanism kit
- Handle set
- Barn door installation hardware kit
It’s crucial to check that your kit comes with everything you need before you make a start. Otherwise, you could find yourself dealing with frustrating delays.
Preparing for installation
Proper preparation is a huge element of understanding how to install a barn door kit. After you’ve got your set together, you need to take accurate measurements and make the relevant markings. These will be your guide to ensuring a smooth and secure barn door installation.
Steps to measuring your space
- Make sure there’s enough clearance for the door to slide open fully (or open suitably in the case of bifold doors).
- The barn door kit should fit comfortably over the entirety of the doorway, typically extending two inches beyond each side for full coverage.
- Consider wall obstructions like light switches, electrical outlets, or baseboards that might interfere with the door’s movement.
Locate suitable wall studs
Use a stud finder to identify secure mounting points or “studs” behind the wall for the mounting of the barn door track kit. If your track does not immediately align with studs, an additional mounting board may be needed for support.
Mark track placement
You’ll need to make wall markings to guarantee the hardware is installed in exactly the right spot. It’s a fairly simple procedure—position the barn door track kit against the wall and use a level to ensure it is straight. Once it’s in the right place, mark the drilling points for screws based on the manufacturer’s guidelines.
Installing the barn door track
Installing barn door hardware includes applying a track system that must be mounted securely.
Attach a mounting board (if needed):
- A wooden mounting board can provide extra stability, especially for drywall installations.
- Secure it to the studs before attaching the track.
Install the track:
- Drill pilot holes at the marked points.
- Secure the barn door track kit using the provided screws and spacers.
- Double-check alignment with a level before tightening.
Install door stoppers:
- Attach stoppers at each end of the track to prevent the door from sliding off.
Attaching the rollers & hanging the door
With the track installed, it's time to connect the rollers to the door and hang it in place.
Install the rollers:
- Position the roller brackets on the top of the door according to the guide provided.
- Secure them using the included bolts and make sure they’re firmly attached.
Hang the door:
- Lift the pre-made barn door and carefully place the rollers onto the track (don’t be afraid to ask for help).
- Check that the door moves smoothly along the track in both necessary directions.
Secure anti-jump bumpers:
- Attach the anti-jump bumpers to the top of the door to prevent derailment.
Adding the guides & making final adjustments
The floor guide keeps the door aligned and prevents swaying. The floor, wall, and/or ceiling mounted guide needs to be positioned at the base or top of the door, then secured following the instructions included.
The final adjustments of the installation will include steps:
- Tighten any loose hardware.
- Adjust the door stoppers to control how far the door slides.
- Test the door for smooth movement and ensure it doesn’t wobble.
Choosing the right barn door kit
If you’re selecting a barn door kit, consider different hardware styles and door styles based on your home’s aesthetic:
Classic Black Hardware – Ideal for a rustic, farmhouse look.
Fishbone Single Barn Door Kit – Sleek and modern, perfect for contemporary homes.
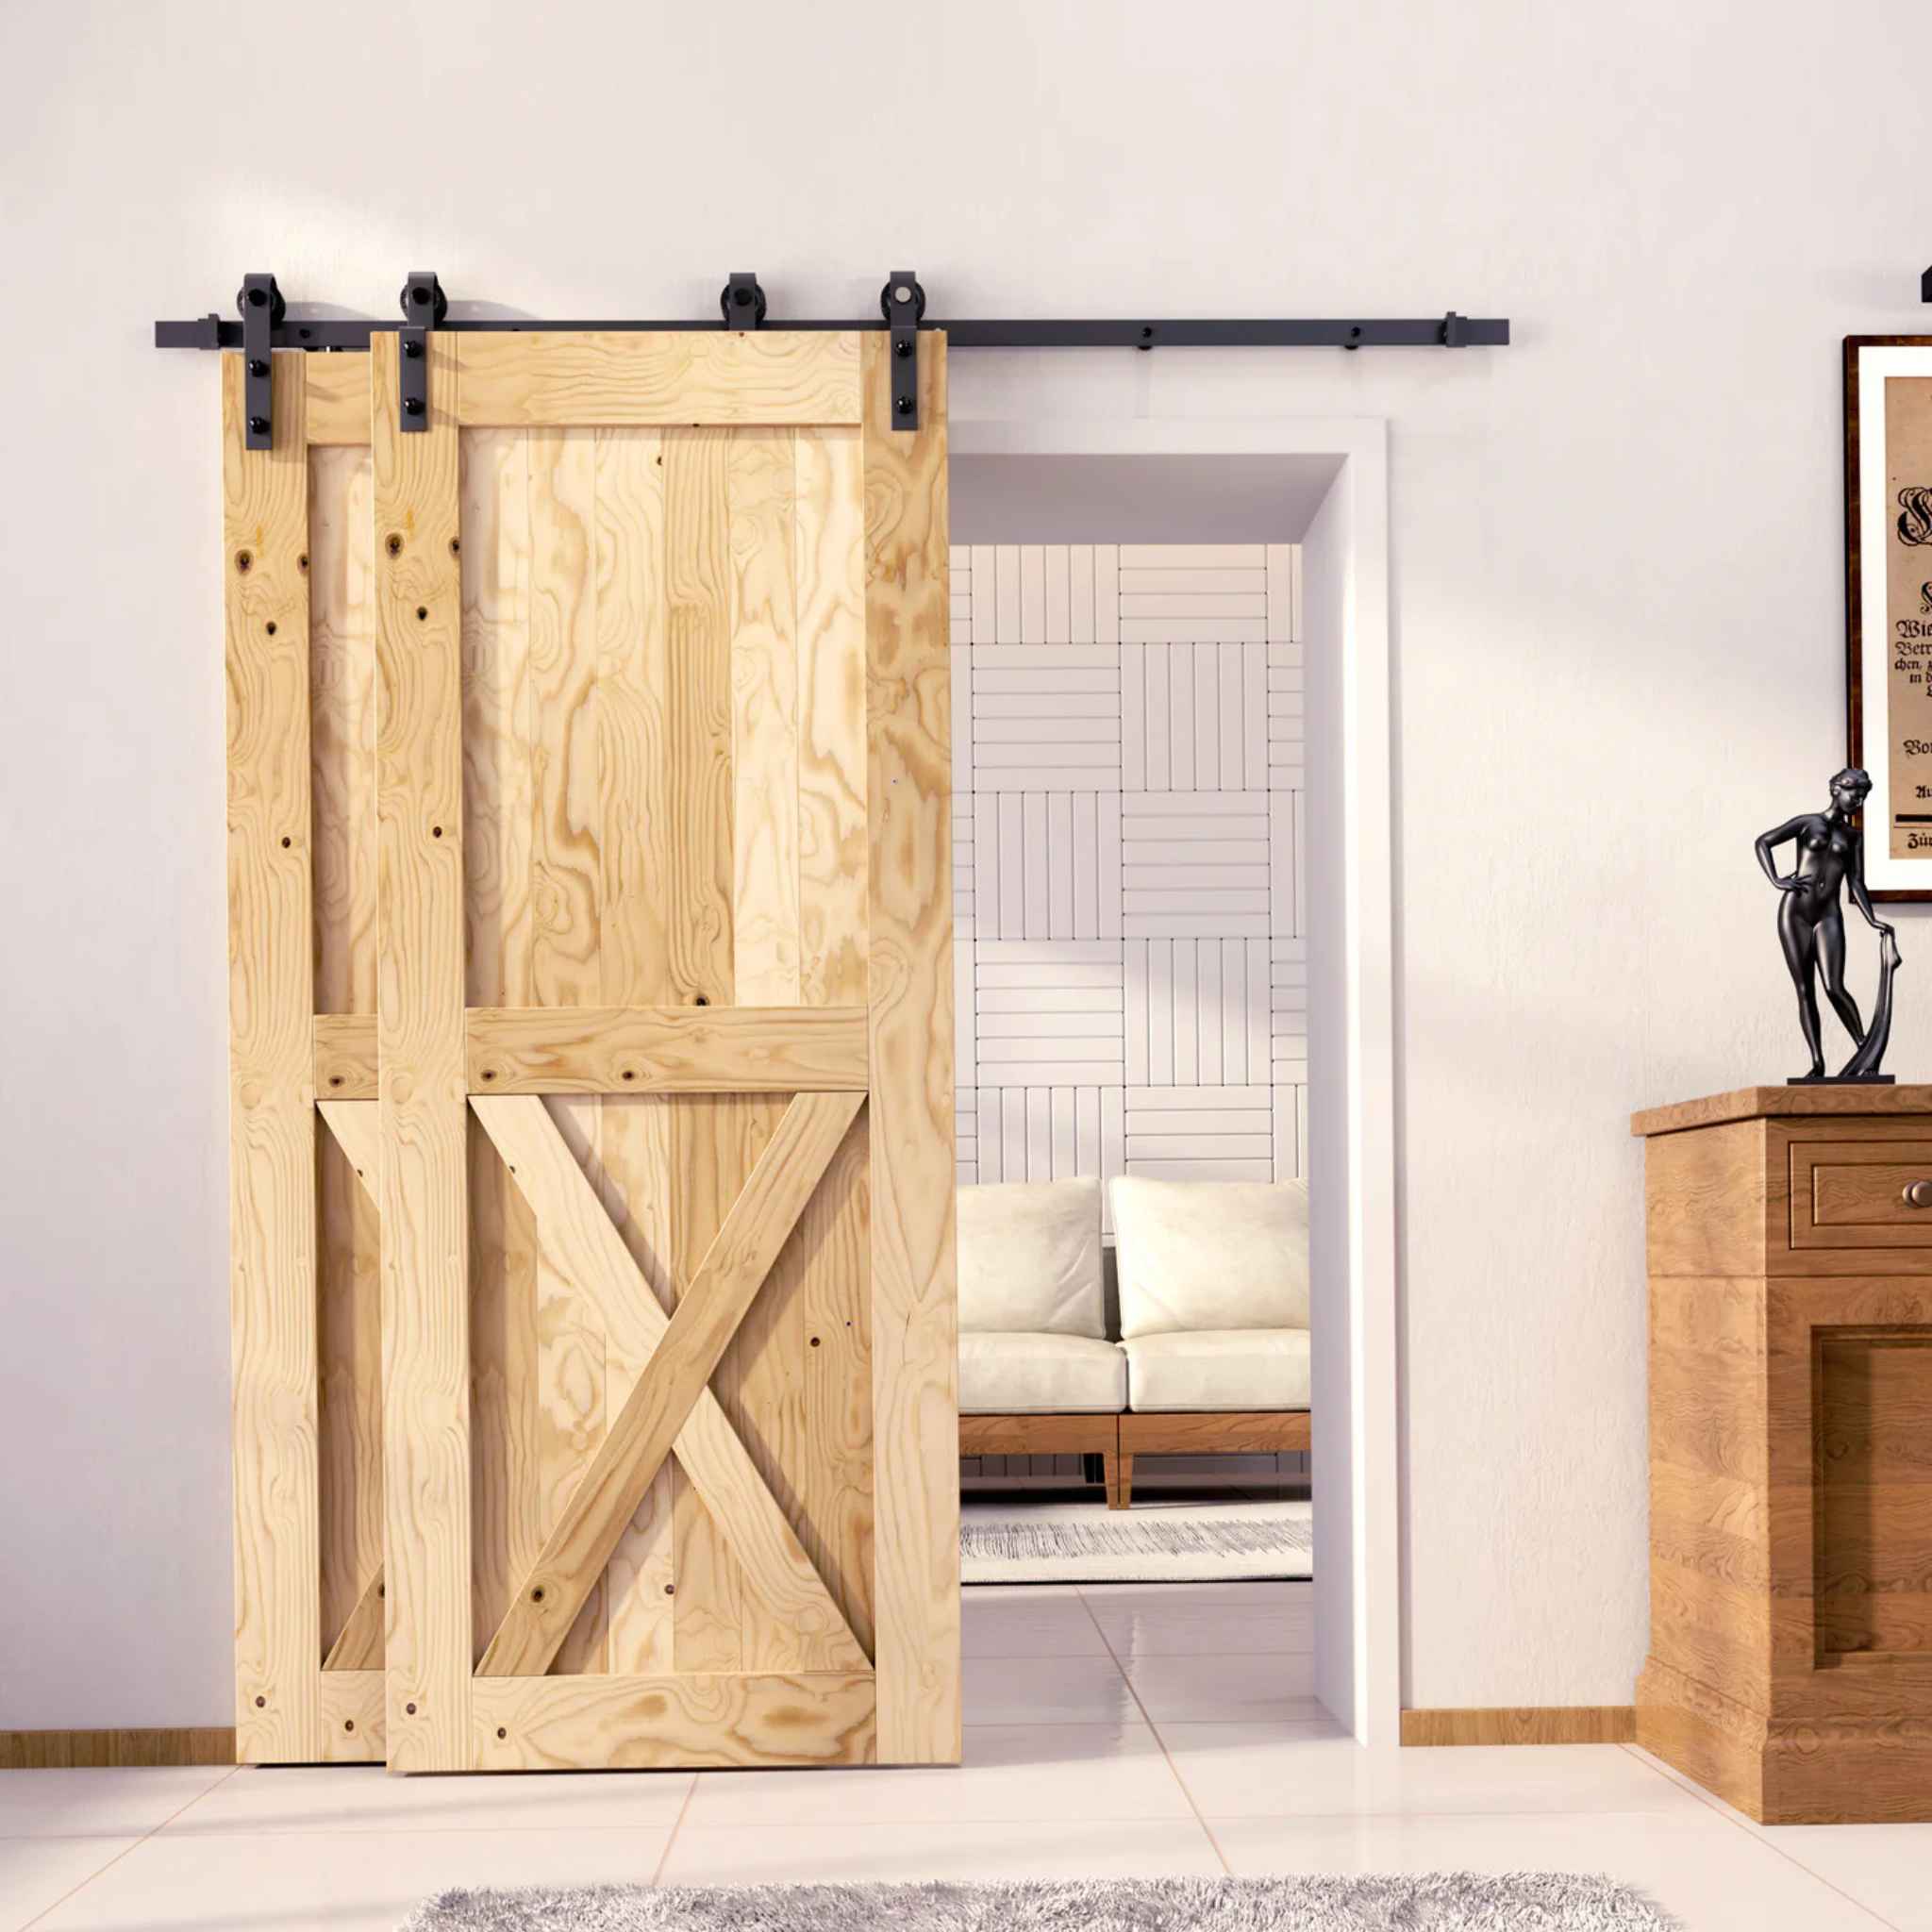
Classic Double Barn Door Kit – These are ideal for a classic installation in a larger space.
Find the perfect barn door kit
By following these steps, you can confidently complete your barn door installation with a kit that includes both the door and all necessary hardware. Whether upgrading your home’s style or optimizing space, installing a barn door is a rewarding DIY project accessible for anyone to try with a bit of spare time.
For high-quality barn door kits and accessories, visit The Barn Door Hardware Store and find the optimum fit for your home.
