How to Install Bifold Barn Door Hangers
Bifold barn doors are a trendy and functional addition to any home. They offer a unique blend of rustic charm and modern convenience.
Installing bifold barn door hangers might seem daunting, but it's a task you can tackle with the right guidance.
This article will walk you through the process, providing a step-by-step guide to help you successfully install your bifold barn door hangers. Let's dive in and get those doors hanging!
Understanding Bifold Barn Door Hangers
Bifold barn door hangers are essential components of your door system. They provide the necessary support for smooth operation.
These hangers ensure your doors fold neatly and glide effortlessly along the track. Functionality meets style with the right hangers.
Choosing the right hangers can make a significant difference in both appearance and performance. Quality hangers enhance both the lifespan and efficiency of your doors.
Tools and Materials You'll Need
To begin your bifold barn door installation, you will need a few basic tools and materials. Having these ready will make the process smoother.
Here's a handy list to help you get started:
- Tape measure
- Screwdriver
- Drill with drill bits
- Level
- Bifold barn door hardware kit
- Screws and anchors
Pre-Installation: Measuring and Planning
Before you dive into installation, it’s crucial to measure your door opening accurately. Precise measurements ensure your bifold barn doors fit seamlessly.
Start by measuring the width and height of the door frame. Double-check these dimensions to ensure accuracy.
Think about the style of hangers and track that suit your space. Carefully planning these details can save you from future adjustments and headaches.
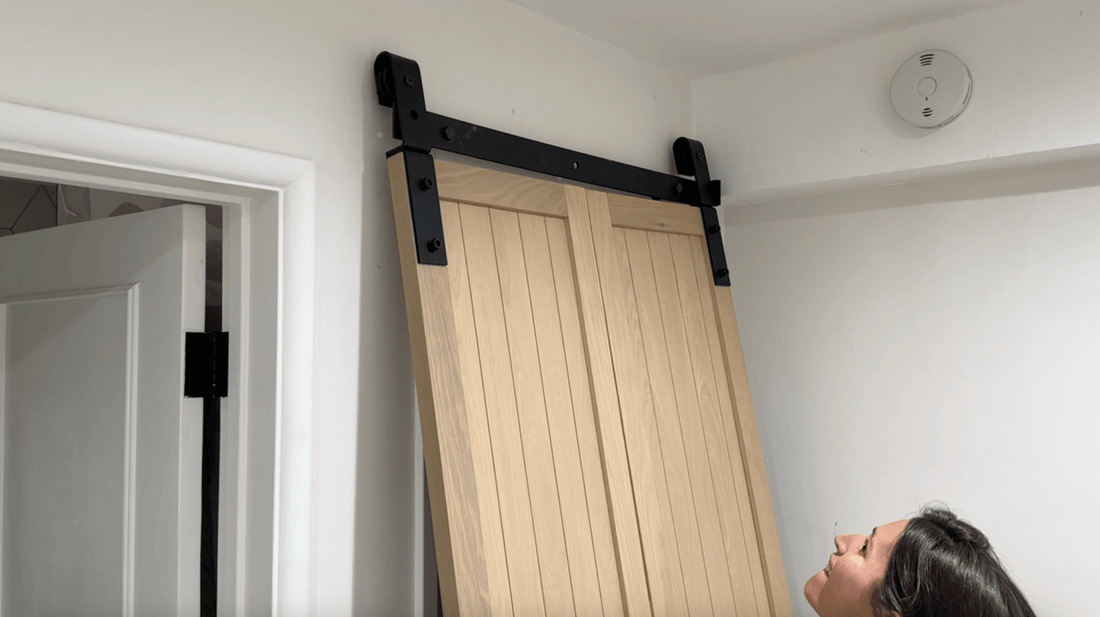
Step 1: Attaching Hangers to the Door
Measure and drill holes where you want to attach the hardware for the hangers.
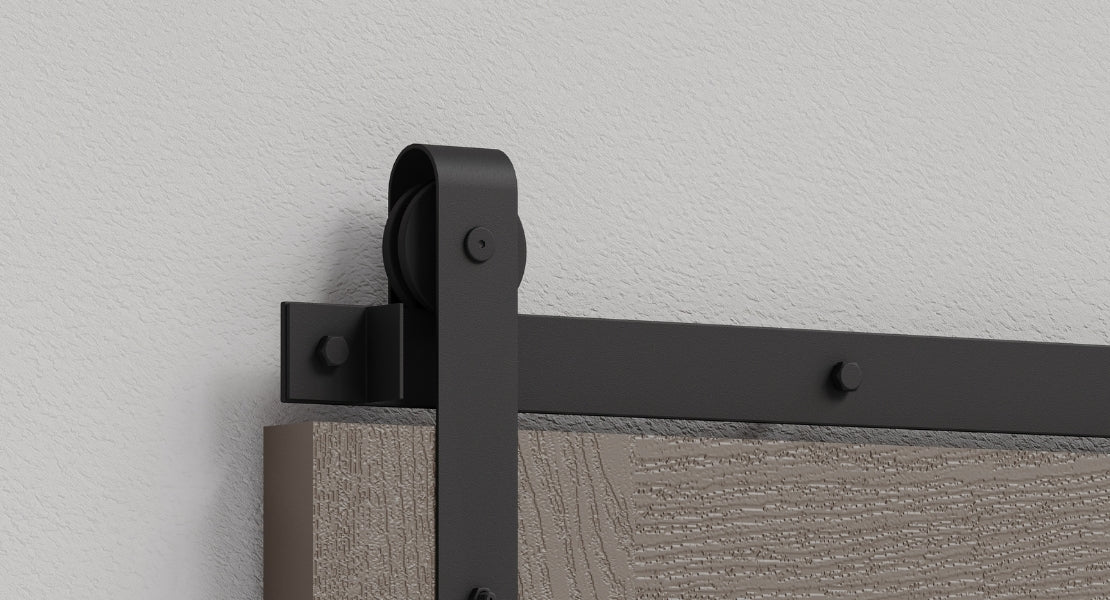
Position the hangers according to the hardware instructions. Ensure they align symmetrically from the top edge of the door.
Secure the hangers using screws provided in your bifold barn door hardware kit. Double-check that they are tightly fastened to avoid any future wobbles.
Step 2: Installing the Track
First, identify where you’ll be mounting the track. This is often above the door frame or along the wall.
Use a level to ensure the track will be perfectly horizontal. This helps the doors slide smoothly without getting stuck.
Once aligned, secure the track into place using the provided screws. Make sure it's firmly attached for stability and safety.
Step 3: Mounting the Door on the Track
With the track in place, it's time to hang your door. Begin by lifting the door and positioning the hangers over the track.
Carefully align the hangers into the track groove. Ensure they are securely engaged to prevent any slipping or falling.
Test the door's movement by sliding it back and forth. Make any necessary adjustments to ensure smooth operation.
Troubleshooting Common Installation Issues
Encountering issues during installation? No worries, common problems like misalignment are easy to fix with patience and precision.
If the door doesn't slide smoothly, check the track alignment. Slight adjustments can often resolve this issue and improve the door's function.
For hangers that feel loose, ensure all screws and bolts are tightened securely. Maintaining balance is key for seamless door operation.
Maintenance and Adjustments Post-Installation
After installation, regular maintenance ensures your bifold barn door operates smoothly. Periodically check the hardware for signs of wear or looseness.
Adjustments may be needed if the door starts to stick or misalign. A simple tweak to the hangers or track can restore balance.
Lubricating the track with silicone-based spray helps keep movement fluid. Proper care prolongs the life of your beautiful new doors.
Conclusion: Enjoying Your New Bifold Barn Door
Congratulations on installing your bifold barn door hangers! You can now enjoy the functional charm they bring to your space.
Your home has a stylish upgrade, adding both beauty and utility. Happy door sliding!


