
Transform Your Entry with This Guide to Treating and Painting Barn Doors
Your barn door is more than just a functional entryway; it's a significant design element. The rustic charm of natural wood is undeniably appealing, but painting, varnishing, or treating your barn door opens up a world of possibilities. This comprehensive guide will walk you through the essential steps of preparing, varnishing, treating and painting barn doors, ensuring a professional finish every time.
Why bother learning how to paint a barn door?
Let's consider the why and benefits of finishing your barn door.
- Aesthetic transformation. Applying a fresh coat of paint or choosing to varnish wood can dramatically alter the door's appearance, allowing it to blend seamlessly into any interior design style.
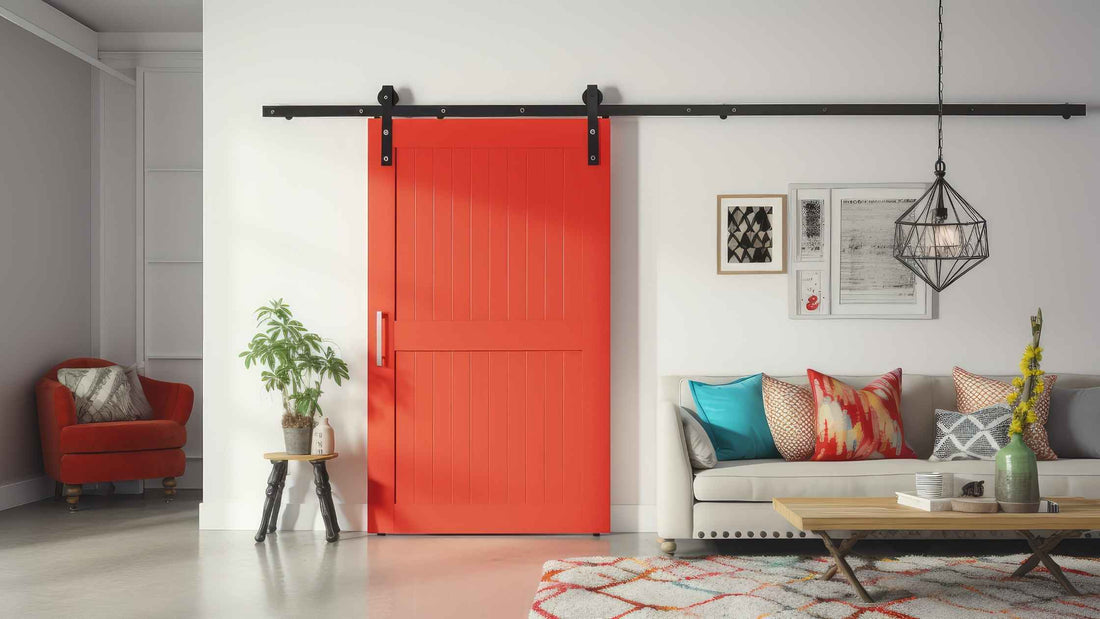
- Personalization. Painting a barn door is your chance to inject personality. Choose a bold accent colour, a serene pastel, or a classic neutral that speaks to your unique taste.
- Protection & longevity. Paint, varnish, and stains provide a protective barrier against daily wear and tear, moisture, and UV rays.
- Enhanced durability. A properly sealed surface is easier to clean and maintain, resisting scuffs and marks.
Step 1 | Preparing to paint wood
Proper preparation is the non-negotiable first step. Skipping this can lead to uneven finishes, poor adhesion, and a less-than-professional look.
-
Remove hardware. Carefully detach barn door hardware, storing screws and small parts in a labeled bag to avoid loss.
-
Clean thoroughly. Dust, grime, and oils can prevent paint or stain from adhering. Use a mild all-purpose cleaner or a degreaser solution (like TSP substitute) with a damp cloth or a soft brush if necessary. Rinse and allow to dry completely.
-
Inspect and repair. Look for dents, scratches, cracks, or holes and fill these with wood filler. Allow to dry, then sand smooth, using a coarse, then medium, and then fine grit (always in the direction of the grain).
-
Dust off. After sanding, use a vacuum cleaner with a brush attachment, followed by a tack cloth, to remove all particles.
-
Prime (essential for paint, optional for stain).
-
- For painting. Always use a high-quality primer compatible with your chosen paint. It ensures better adhesion, provides a uniform base colour, blocks stains, and helps achieve a smoother topcoat.
- For staining. Primer is generally not used as it can prevent the stain from penetrating the wood. However, a "pre-stain wood conditioner" is highly recommended for soft or porous woods.
Step 2 | Choose your finish & aesthetic
This is where your vision comes to life, with your choices defining the aesthetic qualities of the project.
Painting barn doors is the ultimate transformation
You can choose between latex paint, which is water-based and easy to clean, Alkyd which is oil-based with a smoother finish, or chalk paint with a matte distressed look.
Aesthetics directions
- Solid color. For a sleek, contemporary look, choose a high-gloss, semi-gloss, or satin finish in a bold accent color for a clean, uniform appearance.
- Distressed/shabby chic. Achieve this by applying a base coat (often a dark color), then painting a barn door white or pastel with top coat. Once dry, sand the top layer to reveal the base coat and wood, creating an aged effect. Chalk paint is ideal.
- Color wash. Dilute a pale color paint with water (or a glaze medium) and apply thinly. Wipe off excess to allow the wood grain to show through, creating a soft, translucent, sun-bleached look.
Varnish wood to protect natural beauty
You need to know how to treat wood with polyurethane (simple oil or water-based), lacquer (very durable, often sprayed), or shellac (natural but less durable). All options create a clear, protective film over the wood, enhancing its natural grain and colour.
Aesthetic directions
- Matte/satin. For a natural, subtle look that minimizes shine.
- Semi-gloss/gloss. For a more polished, reflective surface.
Stain superpowers natural grain & color
Stain can be oil-based for deeper penetration and richer color, water-based for a lighter color and quicker dry, or gel stain, which more resembles paint in texture. In general, they come in a range of wood tones and penetrate the fibers to add color and exemplify the natural grain—best for enhancing inherent warmth.
Step 3 | Application techniques
When figuring out how to paint wood paneling, remember to always work in a well-ventilated area, apply thin coats, and follow the manufacturer's instructions.
- For paint. Use a high-quality synthetic brush for water-based paints, natural bristle for oil-based. Apply 2-3 thin coats, allowing dry time between each. Lightly sand with very fine grit (220+) between coats.
- For varnish. Apply with a quality brush or sprayer. Avoid overworking the varnish to prevent bubbles. Apply 2-3 thin coats, sanding lightly with very fine grit (320+) between coats.
- For stain. Apply with a brush, foam applicator, or rag, working in the direction of the grain. Allow the stain to penetrate for the recommended amount of time, then wipe off any excess with a clean rag. Always follow with a protective topcoat once fully dry.
Painting barn doors to achieve your dream aesthetic
By mastering the art of painting, varnishing, and treating wood, you can transform your barn door to perfectly complement any interior aesthetic
Imagine a sleek black painted barn door with a satin finish creating a dramatic focal point in a modern minimalist space. Or picture a distressed white barn door with a "chippy" paint effect, complete with antique-style hardware, becoming the charming centerpiece of a cozy shabby chic living room. There are so many directions you can go in!
If you’re interested in learning more about barn doors or other interior design approaches, check out our blog today! We also have a wide range of barn doors, hardware, and accessories on our website, so don’t hesitate to have a browse.