A Guide to Barn Door Measurements
Barn doors offer more than their rustic aesthetic – they’re functional solutions for your door needs!
If you want to try the new farmhouse chic style or make your space more functional, barn doors are a great choice for your home.
These doors offer the perfect combination of privacy and comfortability, with their sliding mechanism and lived-in look.
If you’ve decided to install a barn door in your home, you’ll want to fully understand how to measure correctly.
In this guide, we will show you how to measure your barn door. We will cover choosing the right tools and how to measure correctly.
Whether you are an experienced contractor or a DIY home improvement fan, measuring for barn doors can be tricky. A clear guide can help you get it right.
Let’s begin!
Gathering Your Tools
Getting the measurements of your barn door right is critical for an easy and quick installation process.
To begin, gather some essential tools: tape measure, level, pencil, and screwdriver.
Although these tools are quite basic, they will make your installation process more accurate in the long run.
Tape Measure
When measuring your barn door, you’ll need to determine its width and height relative to the space it will occupy.
For this task, the tape measure will guide you toward accuracy like no other tool. Tape measures are used for precisely measuring the dimensions of the space where your bard door will be installed.
There are many different kinds of tape measures, some of which can be found at this webpage.
Level
Barn doors differ from traditional doors because they hang (and sometimes swing) in order to function.
Therefore, a level is very important for ensuring that your barn door hangs straight downward and does not sway.
Barn doors can swing open or close by accident, so having a level door will give you more control over how it's used.
Pencil
Next, pencils allow you to mark your measurements as you go without doing permanent damage to the surrounding walls.
With that said, still maintain light pressure with the pencil to remove the marks after you’re finished with the measuring and installation process.
If your measurements are easily visible as you’re picking out and installing your barn door, the whole process will go a lot smoother.
Screwdriver
The remaining essential tool is a screwdriver.
Screwdrivers are necessary for attaching hardware (brackets, rails, etc.) to your barn door. In the same vein, having a power drill may offer benefits that cannot be seen with a typical screwdriver.
You can customize how the drill functions by interchanging bits and modifying its speed.
Some barn doors can be more complex than others. It's a good idea to have a screwdriver or drill ready. This will help you fasten parts to the door.
Laser Level
For more advanced barn door settings, you may want to consider using a laser level.
This tool emits a straight, level line of light across a surface, which can fine-tune your measurements to a greater extent.
Laser levels are more reliable than traditional bubble levels and can be useful when measuring a considerable length.
Step-by-Step Guide
Do you have all of your tools? Great! Now, we can move on to discussing the process of measuring for your barn door.
1. Measure the opening
To begin the measuring process, measure the height and width of the opening where you want to install the barn door.
For this measurement (and each going forward), be sure to specify if you’re measuring in inches or centimeters.
Depending on where you live, one type of measurement may be easier to use than another. This is especially true if you need to show these measurements to a hardware store or contractor.
2. Choose the hardware
Now it’s time to choose hardware for your barn door.
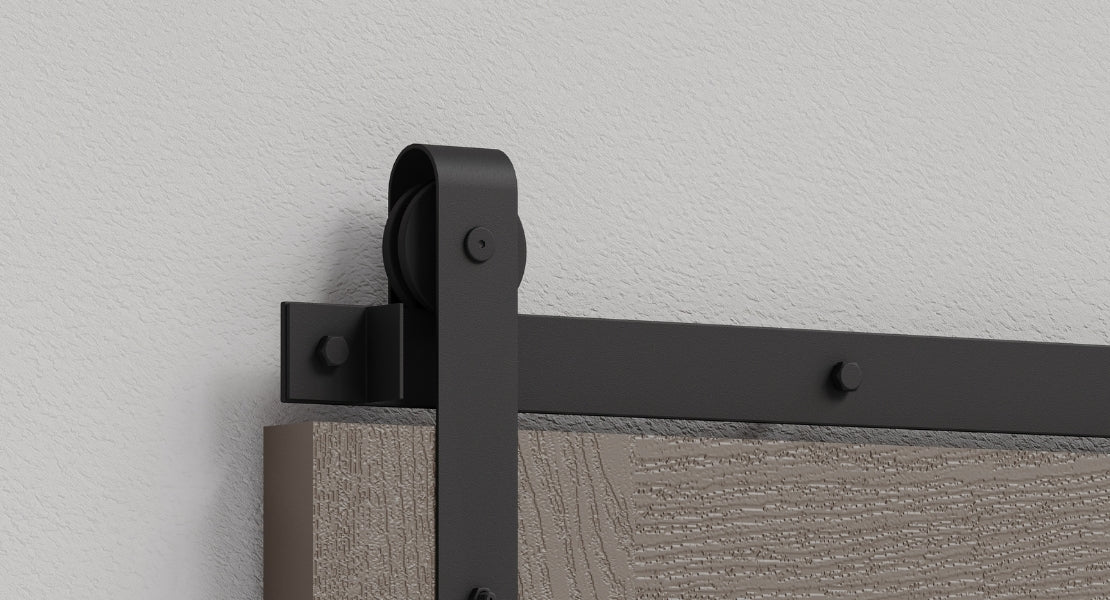
Typically, with barn doors, the types of hardware that are chosen are track systems, roller hangers, handles, floor guides, and stoppers.
You can add more modifications using soft-close hardware. However, the five types mentioned are the most important. They will be easier to find at your local hardware store or a national brand.
Before installing any hardware or choosing it, measure the length of the track. This will ensure it fits your opening.
A track that is too short will leave a gap between the door and the wall, and a track that is too long won’t fit in the space you’ve designated for the barn door.
3. Determine the door size
Determining door size is pretty straightforward, but there are some rule-of-thumb actions to take when measuring.
First, add 2-4 inches to the width of the opening to determine the width of the barn door.
Next, add 1 inch of height to the opening that you’ve chosen for your barn door to determine the height of the barn door.
In essence, your barn door cannot be the exact size of the opening, or it won’t fit right.
4. Check for obstructions
If you have all your measurements, hardware, and door ready, check for any obstructions. These could interfere with installing the barn door.
This can include other pieces of furniture, other doors, and more. Also, make sure that there is enough space for the door to slide open and closed.
Conclusion
You’ve reached the end of this guide to barn door measurements – nice work!
Hopefully, you feel more empowered to tackle your barn door project now that you have a framework to follow.
If you have more questions, it is best to talk to a technician or contractor. Look for someone with a lot of experience with barn doors.
Installing your barn door right the first time avoids needing to replace parts or the entire contraption down the line. Get the materials you need for a successful barn door installation at The Barn Door Hardware Store.


