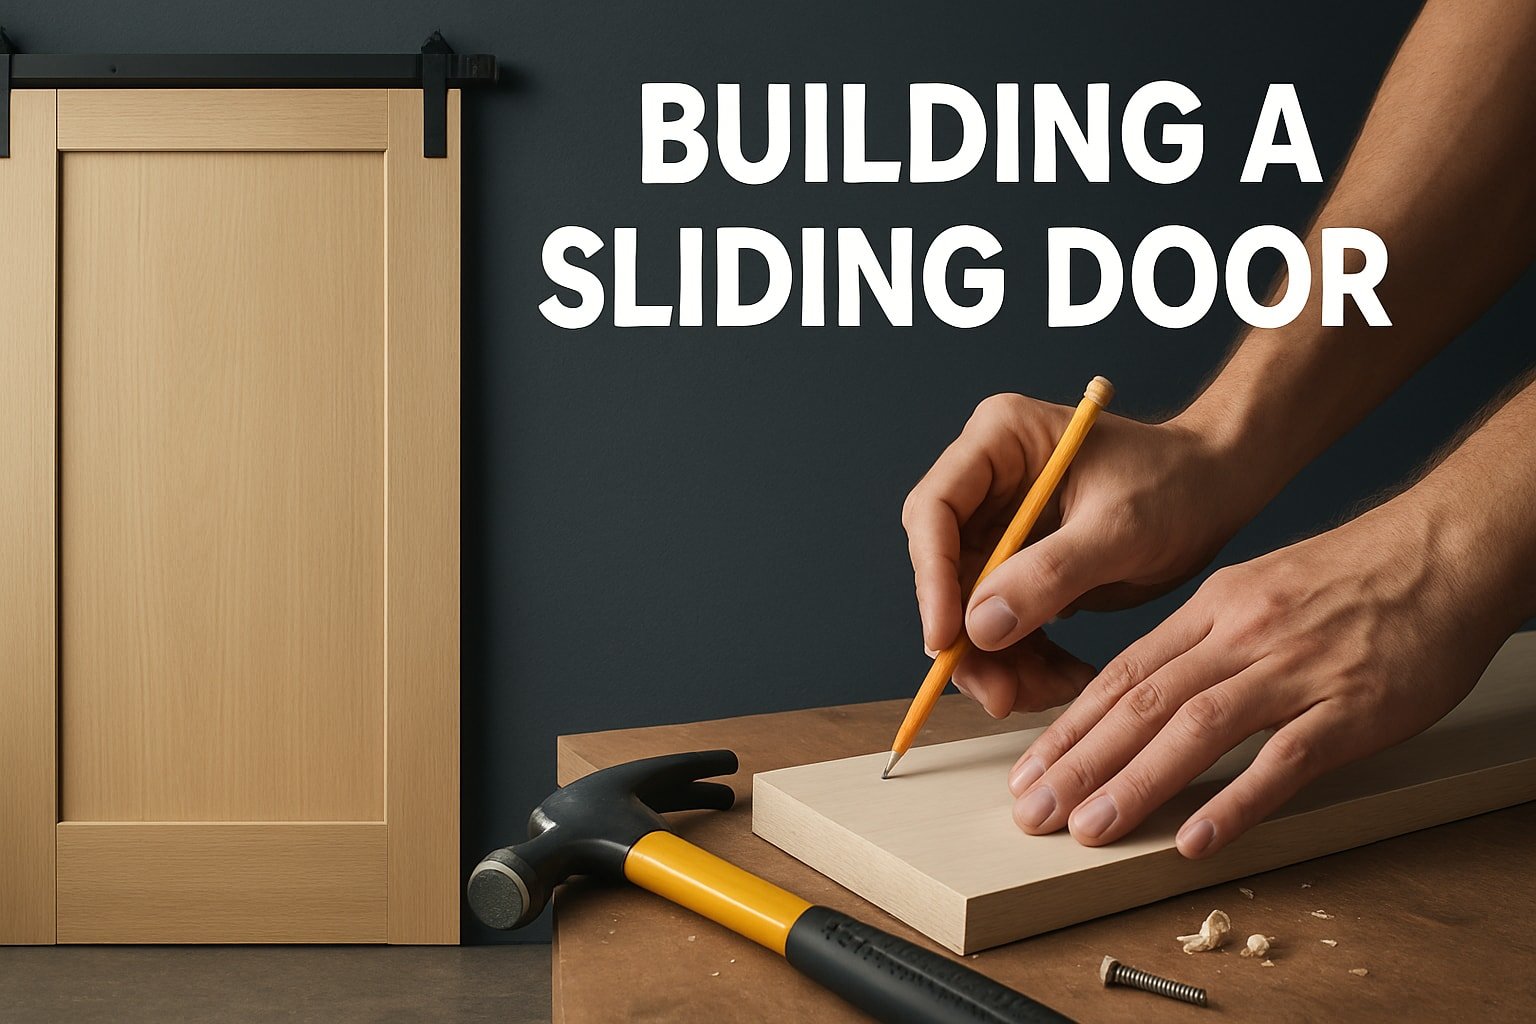
Imagine transforming your home with a sleek, modern feature that saves space and instantly elevates your style. Picture yourself confidently building a sliding door, tailored to your tastes and needs, using the latest techniques of 2026.
This guide is here to walk you through every phase of building a sliding door, from initial planning and choosing the right materials to expert installation and troubleshooting. Whether you want more light, better access, or a designer look, you’ll find the knowledge and inspiration you need right here. Ready to get started?
Understanding Sliding Doors: Benefits, Types, and Modern Trends
Curious about why sliding doors are everywhere these days? Whether you are renovating or just dreaming big, understanding the perks, styles, and latest trends is the first step in building a sliding door that truly fits your space and lifestyle.

Key Benefits of Sliding Doors
When you start building a sliding door, the benefits quickly become clear. Sliding doors save space because they glide along walls instead of swinging open. This design means you can use every inch of your room, especially in tight spots.
Natural light floods in through glass options, making interiors feel brighter and more open. Sliding doors also support ADA compliance, offering easy, low-threshold access for everyone. If built right, they are energy efficient and keep drafts out. Plus, they work both inside and outside, from closets to patios.
Popular Types of Sliding Doors in 2026
In 2026, you have more choices than ever when building a sliding door. Single-panel systems are perfect for small openings, while multi-panel setups can transform large spaces.
You will find lift-and-slide mechanisms that make even heavy doors easy to move, as well as classic track systems for simplicity. Materials range from sleek glass to warm wood or high-tech composites. Some doors even include smart automation for hands-free operation.
Modern Design Trends
Modern design is all about clean lines and bold statements. When building a sliding door, you might opt for minimalist frames with wide glass expanses for a contemporary vibe. Custom hardware and unique finishes let you express your style.
Smart home integration is huge, so think about security and convenience features. Sustainability is also trending, with eco-friendly materials and energy-efficient glass. Want to see what’s hot? Check out the Sliding Door Design Trends 2026 for inspiration.
Example Applications
Wondering where building a sliding door makes the biggest impact? Picture a moveable glass wall connecting your living room to a sunny patio. These doors are also ideal for closets, home offices, and pantries where you want to maximize usable space.
In commercial settings, sliding doors create flexible conference rooms, eye-catching storefronts, and stylish partitions. Their versatility means you can use them almost anywhere you need both function and flair.
Data and Insights
Research shows that sliding doors can boost usable floor space by up to 10 percent in smaller rooms, a game changer for urban living. More builders are choosing low-threshold, ADA-friendly designs in new construction, making accessibility standard rather than an afterthought.
With the demand for modern, efficient, and accessible solutions on the rise, building a sliding door is more than a trend—it is a smart investment for the future.
Planning and Preparation: Design, Measurement, and Material Selection
Ready to roll up your sleeves and start building a sliding door that fits your style and space? Before you grab your tools, a solid plan will make everything smoother. Careful preparation is the secret sauce for a project that looks and functions like a pro job.

Assessing Your Space and Needs
Start by taking a close look at where you want your sliding door. Is it for a tight hallway, an airy living room, or maybe a backyard entry? Think about traffic patterns, privacy, and how much wall space you have for the door to slide open. When building a sliding door, always check if your wall is load-bearing, and consider climate factors like rain or heat. This helps you avoid headaches later and ensures your door will last. If your project is commercial or needs ADA compliance, plan for a low-threshold entry and easy access.
Choosing the Right Sliding Door Type
Sliding doors come in many flavors. Do you picture a classic framed glass door, a modern frameless style, or a rustic barn door look? Decide if you need a bypass system, a pocket door that disappears into the wall, or a surface-mounted slider. When building a sliding door, think about traffic flow and how much clearance you have. Lift-and-slide mechanisms offer smoother operation for larger doors, while standard tracks are perfect for most homes. Each option affects installation complexity and day-to-day use.
Material Selection
Materials matter for both looks and performance. Wood frames bring warmth and character, but need more maintenance. Aluminum is sleek and resists weather, while PVC offers great value and insulation. For glass, choose between single, double-pane, or insulated units depending on your climate and sound needs. Hardware finishes like stainless steel or powder-coated brass affect both durability and style. Remember, when building a sliding door, your material choices impact energy efficiency, longevity, and even resale value.
| Frame Material | Pros | Cons |
|---|---|---|
| Wood | Warm, customizable | Needs maintenance |
| Aluminum | Durable, modern | Can be less insulated |
| PVC | Affordable, low-maintenance | Limited color choices |
Measuring for Success
Accurate measurements are your best friend. Measure the width and height of your opening, double-check for level floors and plumb walls, and allow extra space for tracks and hardware. When building a sliding door, plan for clearance above and below the door, as well as track and guide requirements. If you want a flush threshold for ADA access, factor in the height difference and possible adjustments to the floor or slab. Getting this right means your door will glide smoothly and seal tightly.
Sourcing Materials and Hardware
Now it is time to gather your supplies. Local glaziers can custom-cut glass panels, while specialty stores offer a huge range of hardware. For an all-in-one solution, check out a Barn door hardware kits overview to compare options that fit your design and budget. When building a sliding door, balance quality with cost—sometimes a kit saves time and ensures compatibility. Be sure to match hardware finishes to your chosen frame and door style for a polished look.
Common Pitfalls to Avoid
Rushing the planning phase leads to trouble. A common mistake when building a sliding door is forgetting to account for threshold height, which can cause tripping or water leaks. Overlooking wall structure might mean you hit wiring or pipes, or fail to support the door's weight. Always double-check measurements and ensure your structure can handle the load. Addressing these details early saves time, money, and frustration down the road.
Essential Tools and Hardware for Building a Sliding Door
Getting started with building a sliding door means having the right tools and hardware at your fingertips. If you want a smooth, professional result, you’ll need to plan ahead and gather these essentials before you dive in.

Tool Checklist
When it comes to building a sliding door, your toolkit should cover all the basics plus a few specialty items. Start with a reliable measuring tape, level, and framing square to keep your project accurate from the first cut. You’ll want power saws like a circular saw for framing and a miter saw for precise angles. A quality drill and driver set is a must for assembly and mounting hardware.
If you need to modify a concrete slab for a recessed track, a concrete saw is essential. Don’t forget safety equipment: goggles, gloves, and hearing protection. Having these tools ready makes building a sliding door much smoother and more enjoyable.
Hardware Components Overview
The hardware you choose is just as critical as the tools. For building a sliding door, you’ll need sturdy tracks, which can be ceiling, wall, or floor mounted. Rollers and trolleys ensure smooth movement and must be matched to your door’s weight. Handles, pulls, and locks add both function and style.
Floor guides and stops keep the door stable and on track, and weatherstripping or gaskets help keep things airtight. If you want to explore different floor guide options, check out this helpful Floor guides for sliding doors resource for inspiration and practical solutions.
Selecting the Right Hardware
Choosing the right hardware is a key step in building a sliding door that lasts. Match the weight capacity of your tracks and rollers to the size and material of your door. For exterior doors, opt for corrosion-resistant finishes like stainless steel or powder-coated hardware.
If accessibility is a concern, ADA-compliant handles and low-profile floor guides are a must. Always double-check compatibility with your chosen door type, whether it’s wood, glass, or composite. Taking the time to select the right hardware pays off in the long run.
Example Configurations
There are countless ways to configure hardware when building a sliding door. Double-panel sliding glass doors are popular for wide openings, letting in lots of light and creating a modern look. Recessed tracks are perfect for flush thresholds, especially in high-traffic areas where you want a seamless transition.
Some DIYers opt for surface-mounted barn door hardware for a rustic vibe, while others use pocket door kits to save space. Think about your needs and style preferences before making your final decision.
Hardware Sourcing Tips
Finding high-quality hardware is crucial for building a sliding door that feels solid and secure. Start by requesting detailed CAD drawings from manufacturers, which helps you visualize how everything fits together.
Consult with hardware specialists if your installation is unique or especially large. You can often source premium tracks, rollers, and handles. Don’t forget to budget for hardware—quality pieces are worth the investment.
Maintenance Considerations
After building a sliding door, plan for maintenance to keep it gliding smoothly. Choose hardware that’s easy to clean and service, with accessible tracks and rollers. Regularly check for debris that might cause sticking or noise, and lubricate moving parts as needed.
Inspect weatherstripping and gaskets for wear, especially on exterior doors. If you’re proactive about maintenance, your sliding door will perform beautifully for years to come.
Step-by-Step Guide: Building and Installing a Sliding Door
Ready to roll up your sleeves and start building a sliding door that transforms your space? Let's break it down step by step so you can approach each phase with confidence and clarity.
Step 1: Preparing the Opening and Frame
Before building a sliding door, you need to make sure your opening is ready for action. Start by clearing the area of trim, nails, or old door hardware. Use a tape measure to double-check the width and height, comparing them to your planned door size.
Next, grab a level and square to confirm that your walls and floors are straight and true. Any tilt or unevenness can cause problems later when building a sliding door, so take your time here. If your project calls for a recessed threshold, such as in a desert home where water exposure is a concern, you may need to cut into concrete. For this, use a concrete saw and always wear safety gear.
Look for obstructions inside the wall, like plumbing or wiring, especially if you’re planning a pocket or recessed track. Remove debris and vacuum the area so you have a clean, dust-free workspace before you start building a sliding door.
Step 2: Constructing the Door Panel
Now comes the fun part—creating the door itself. Whether you’re building a sliding door from wood, aluminum, or composite, precision matters. Cut your frame pieces to size, then dry-fit them before assembly. Use wood glue and screws for timber frames, or follow the manufacturer’s recommendations for metal or composite.
If you’re going with glass, measure carefully and order insulated or tempered glass units from a local glazier. For large doors, reinforce the frame with metal brackets or additional mullions to prevent sagging. When building a sliding door with dual-pane glass, assemble the panel on a flat surface, checking diagonals to ensure the frame is perfectly square.
Install the glass with setting blocks and sealant, then add gaskets or weatherstripping for a snug fit. Give everything a final once-over, making sure all joints are tight and the panel feels solid. This attention to detail sets the stage for a smooth, durable sliding door.
Step 3: Installing the Track and Roller System
Let’s get rolling! Start by marking the header or ceiling where your top track will mount. Use a stud finder to locate framing members, then secure the track with lag screws or joist hanger nails. Double-check that the track is perfectly level, since even a slight slope can cause the door to drift or stick.
Attach the trolleys or rollers to the top of your door panel. Most systems have adjustable bolts—set the height so the door sits flush with your wall or jamb. When building a sliding door for wide openings or heavy panels, opt for heavy-duty rollers rated for your door’s weight.
Slide the door onto the track and test its movement. Install end stops or safety nails at both ends of the track to prevent the door from rolling off unexpectedly. For extra peace of mind, especially with kids or pets, consider anti-lift devices that keep the door securely in place while building a sliding door system.
Step 4: Adding Floor Guides and Bottom Rails
To keep your door from wobbling or swinging out, floor guides are essential. Measure and mark the floor directly beneath the track, ensuring the guide aligns with the door’s bottom rail. For surface-mounted systems, screw the guide into the floor; for recessed tracks, cut a slot in the bottom of the door to fit over the guide.
If you’re building a sliding door for a high-traffic area, consider a double guide or wider bottom rail for extra stability. Use wall brackets or lag bolts to anchor the guide securely. Always check for smooth movement and adjust as needed so the door glides freely without binding.
Look for gaps or misalignment, which can lead to wear over time. A well-installed guide means your sliding door will move straight and true for years to come.
Step 5: Weatherproofing and Sealing
This step is key if you’re building a sliding door for an exterior wall or anywhere exposed to the elements. Start by applying weatherstripping to the top, bottom, and sides of the door. Look for flexible, durable materials that will hold up over time.
For extra airtightness, install automatic drop seals or gaskets that compress when the door closes. Choose seals rated for your climate—silicone or rubber for wet areas, felt for interiors. When building a sliding door in a windy or rainy region, consider double gaskets or overlapping seals for maximum protection.
Don’t forget to caulk any gaps between the frame and the wall. A little time spent on sealing now will save you from drafts and leaks down the road. Good weatherproofing also helps with energy efficiency, one of the big perks of building a sliding door.
Step 6: Installing Handles, Locks, and Accessories
The right hardware makes your sliding door both functional and stylish. Pick handles that are comfortable to grip and match your decor. For secure locking, install mortise or cam locks, making sure to mount them at an ADA-compliant height.
Wondering which handle is best or how to install it? Check out this Sliding barn door handles guide for expert tips and inspiration.
Install jamb stops and latches to keep the door closed tightly. Adjust latch hooks or catches for a snug fit. If you’re building a sliding door for a shared space, consider privacy locks or soft-close accessories for added convenience.
Take your time with this step—smooth operation and reliable security are worth the extra effort when building a sliding door.
Step 7: Final Adjustments and Testing
You’re almost there! Open and close the door several times, listening for squeaks or rough spots. If the movement isn’t smooth, adjust the roller height or realign the floor guide. Tighten all bolts, nuts, and fasteners to eliminate rattles.
Inspect the entire system for air gaps, misalignment, or drag. Use a flashlight to spot any light leaking around the edges. When building a sliding door, even small adjustments can make a big difference in performance.
Here’s a quick troubleshooting table for common issues:
| Problem | Solution |
|---|---|
| Door drags or sticks | Adjust rollers, check track alignment |
| Air leaks | Add or replace weatherstripping |
| Door rattles | Tighten fasteners, check end stops |
| Hard to lock | Realign latch and strike plate |
If you run into stubborn problems, don’t hesitate to consult manufacturer guides or DIY forums. Building a sliding door is a learning process—patience and persistence pay off.
Step 8: Maintenance and Care Tips
Once your sliding door is up and running, a little routine care goes a long way. Clean tracks and rollers regularly to prevent dust buildup. Inspect weather seals and hardware for signs of wear, replacing them as needed.
Lubricate moving parts with a silicone-based spray every few months. For large or exterior doors, consider scheduling a professional inspection yearly to catch issues early. With these habits, building a sliding door becomes an investment in both style and long-term value.
Advanced Tips, Customizations, and Troubleshooting
Ready to take building a sliding door to the next level? Whether you want smart features, enhanced safety, or a perfect fit for your space, this section will guide you through advanced tips, creative customizations, and troubleshooting solutions.
Customizing Your Sliding Door
When building a sliding door, think beyond the basics. Modern customizations let you tailor your door to your lifestyle and home's design.
Consider integrating smart locks or full automation for hands-free operation. These features are rapidly gaining popularity, as shown by Automatic Sliding Doors Market Growth, making your sliding door future-ready.
Want a unique look? Add decorative glass panels, custom finishes, or even multi-panel telescoping systems for wide openings. These options offer both style and function, making building a sliding door an exciting project.
Accessibility and Safety Enhancements
Accessibility and safety should always be top priorities when building a sliding door. Design for low-threshold, ADA-compliant entries to ensure everyone can use your door comfortably.
Opt for safety glass, such as tempered or laminated, and install anti-lift devices for extra security. For more detailed safety advice, check out these heavy-duty barn door safety tips.
A recessed sill creates a flush, trip-free entry, perfect for both homes and businesses. With the right planning, building a sliding door can be both safe and accessible for all.
Troubleshooting Common Issues
Even with careful planning, you might encounter challenges while building a sliding door.
Common problems include misaligned tracks, dragging panels, or unwanted air leaks. To fix these, check for level tracks, adjust roller heights, and replace worn weather seals.
Water intrusion can be a headache, especially on exterior doors. Make sure your threshold and seals are properly installed. Routine inspection and timely repairs keep building a sliding door frustration-free.
Upgrading Existing Doors
Already have a sliding door but want an upgrade? Retrofitting is a smart way to boost performance.
Swap out old rollers, add better weatherstripping, or upgrade to insulated glass. These improvements make building a sliding door—or improving your current one—worth every effort.
Expert Resources and Community Advice
Don't go it alone when building a sliding door. Leverage manufacturer CAD drawings, installation guides, and online forums for solutions to unique challenges.
Video tutorials and DIY communities offer real-world tips, helping you troubleshoot and perfect your project.
Frequently Asked Questions About Building Sliding Doors
Thinking about building a sliding door but have some burning questions? You are not alone. Here are answers to the most common questions people ask before they start their project.
What’s the difference between lift-and-slide and standard sliding doors?
Lift-and-slide doors use a special mechanism that lifts the panel off the track for super smooth movement and a tighter seal when closed. Standard sliding doors simply glide along the track. If you want a modern feel and top-notch insulation, lift-and-slide is often the way to go.
How do I choose the right glass for my climate and safety needs?
Look for double-pane or insulated glass if you live in a colder area, and always opt for tempered or laminated glass for safety. The type of glass you select when building a sliding door affects energy efficiency and peace of mind.
Can I install a sliding door on a load-bearing wall?
Yes, but you need to plan carefully. Reinforcing the opening with a proper header is essential to maintain structural integrity.
What are the best practices for weatherproofing sliding doors?
Use high-quality weatherstripping, add proper seals around the frame, and make sure your threshold is well-designed to prevent leaks. For more on design and function, check out this Sliding Glass Door Overview.
How do I ensure my sliding door is ADA-compliant?
Choose low-threshold tracks, install handles at accessible heights, and make sure the door opens easily for everyone.
Where can I source custom hardware or replacement parts?
You can find specialty hardware online, at local building supply stores, or directly from manufacturers who focus on sliding door systems.
What maintenance is required to keep my sliding door operating smoothly?
Regularly clean the tracks and rollers, check seals for wear, and lubricate moving parts. This simple routine will keep your sliding door gliding like new.
Have more questions about building a sliding door? Dive deeper into guides, or explore online communities for hands-on advice.
So, now that you’ve seen just how much planning and care goes into building a sliding door that fits your style and space, you might be wondering—where do you actually get the right hardware to make it all happen? I’ve been there myself, caught between endless options and not knowing who to trust for quality parts. If you want a smooth project from start to finish, I always recommend checking out barn door hardware. You’ll find everything you need—durable kits, expert advice, and even free shipping—so you can focus on creating a sliding door you’ll love for years to come.
