So that barn door hardware kit has been sitting in your garage for three weeks now.
Every time you walk past it, you have the same internal debate. The YouTube videos make it look pretty straightforward—measure, drill, hang, done. But your partner keeps suggesting you "just hire someone," and you're stuck somewhere in the middle, wondering if you're actually capable of pulling this off.
Here's the thing: this isn't really about whether you're "handy" or not. It's about matching the specific tasks involved to your actual skill level and being honest about what you're working with—both in terms of experience and the reality of your walls.
I'm going to break down exactly what's involved in installing barn door hardware, what requires genuine skill versus what's easier than it looks, and when you should absolutely call in help. Think of this as advice from someone who's done it before, made the mistakes, and learned what actually matters.
Start with an Honest Skill Assessment
Let's figure out where you actually fall on the DIY spectrum.
Level 1: "I Can Hang Pictures Straight"
You own a drill, but mainly you've used it for assembling furniture and hanging the occasional shelf. You're comfortable with basic measuring and can usually get things level after a couple of tries. You've successfully installed curtain rods without needing backup.
What you can realistically install: A straightforward barn door track kit on a wall with exposed studs in all the right places. We're talking about the simplest possible scenario—standard height door, wall studs conveniently positioned, no complications.
What you cannot install: Anything requiring a header board, making angled cuts, or figuring out load distribution on your own.
Realistic outcome: You'll get it done, but it'll take most of a Saturday with plenty of YouTube pausing and re-measuring.
Level 2: "I've Done Weekend Projects"
You've installed shelving that's still holding firm, replaced door hardware throughout your house, maybe even built a deck. Finding studs doesn't intimidate you, and you know why pilot holes matter. You own a decent collection of tools and actually know what most of them do.
What you can realistically install: Most standard barn door hardware kits, including installations that require adding a header board. You can handle the measuring, the drilling, the adjusting.
What you cannot install: Complex bypass systems with two doors, ceiling-mounted configurations, or anything where you need to assess whether your wall structure can handle the weight.
Realistic outcome: You'll have it done in an afternoon with the normal hiccups, and it'll look good.
Level 3: "I Renovate for Fun"
You've actually framed walls before. You understand load-bearing concepts and can have a real conversation about load distribution. You own a miter saw you use regularly, and you've completed projects that required permits.
What you can realistically install: Pretty much everything—bypass systems, ceiling mounts, custom configurations that require problem-solving.
What you should still consider outsourcing: Installations where the wall integrity is questionable or you're working with historic materials you can't afford to damage.
Realistic outcome: Efficient installation with professional-looking results.
Where do you honestly fall? There's absolutely nothing wrong with being a Level 1. The problems start when Level 1 people attempt Level 3 projects.
What's Actually Inside The Barndoor Hardware Box
Let's talk about what you're working with when you open that barn door hardware kit.
Most kits include the steel track—either pre-cut to a specific length or customizable. You'll get roller assemblies (usually two, sometimes more for heavier doors) that attach to your door and ride along the track. There are wall-mounting brackets, a floor guide to keep the door from swaying, and a bag of screws, spacers, and basic hardware. Instructions are included, though their quality varies wildly depending on the manufacturer.

Here's what's not included but you absolutely need: The door itself, obviously. If you're installing a header board, you'll need that lumber—usually a 1x6 or 2x6 hardwood. Door handles are typically sold separately. Same with locks or latches if you want privacy.

Weatherstripping if you care about gaps. And critically—the right screws for your specific wall type, because the kit screws assume you have standard wood studs.
The quality difference between an $80 kit and a $300 kit? Honestly, they contain basically the same components. You're paying for better bearings that'll roll smoother five years from now, more durable finishes, and whether the company will actually answer the phone if you run into problems.
What are The Tools You Actually Need?
You don't need a complete workshop for this. Here's what matters:
Essential tools: A decent power drill—corded or cordless with at least 18 volts. A drill bit set, particularly ⅛-inch and ¼-inch bits for pilot holes. A four-to-six-foot level, not the tiny one—you need real accuracy here. A 25-foot tape measure. An electronic stud finder, the $20 kind from the hardware store. Pencil for marking. Socket wrench or adjustable wrench. A six-foot step ladder if you have standard eight-foot ceilings.
Nice to have, but not required: An impact driver makes driving lag screws easier, but it isn't necessary. Clamps help hold the track while you mark holes. Sawhorses are useful for door assembly. A miter saw only matters if you're cutting the header board yourself—Home Depot will cut it for free.
The tool you think you need but don't: A laser level. A regular level works perfectly fine. Don't overthink this.
If you don't own a drill and level, they're worth buying. Everything else? Borrow from your neighbor or rent for twenty bucks.
The Step-by-Step Reality of Installing a Barndoor Hardware Kit
Let me walk you through what's actually involved, with realistic time estimates.
Step 1: Measure and Mark Track Position (30-45 minutes)
This requires basic measuring skills and understanding door clearance. The common mistake people make is not accounting for rollers when measuring height—your track needs to sit high enough that the rollers have clearance above the door itself.
This step takes longer than you expect. Measure three times, mark once. You can absolutely handle this if you've successfully hung anything at a level before.
Call a professional if your door opening is noticeably off-square or you genuinely can't figure out where the studs are.
Step 2: Install Header Board if Needed (45-60 minutes)
This is where you need to find studs, drill into them correctly, and understand basic load distribution. The mistake that'll haunt you: using drywall anchors instead of hitting studs. That will fail, possibly spectacularly.
This is where most DIYers get nervous, but it's genuinely manageable if you're comfortable with a stud finder and lag screws.
Here's what nobody mentions: if your studs aren't positioned where you need them for your track, you absolutely need a header board. Don't try to skip this step to save an hour. You'll regret it when your track starts sagging.
Call a professional if you hit metal studs, find no studs where you need them, or discover your wall is plaster over brick.
Step 3: Mount the Track (30 minutes)
You're following your marked lines, drilling pilot holes, and driving lag screws. The common mistake is skipping those pilot holes because you're in a hurry. Don't. You'll strip screws or crack your header board.
If your header board is solid and level, this step is surprisingly straightforward. You can handle it if you can operate a drill without cross-threading screws.
Call a professional if the track isn't sitting flush against the wall or wobbles after you've mounted it.
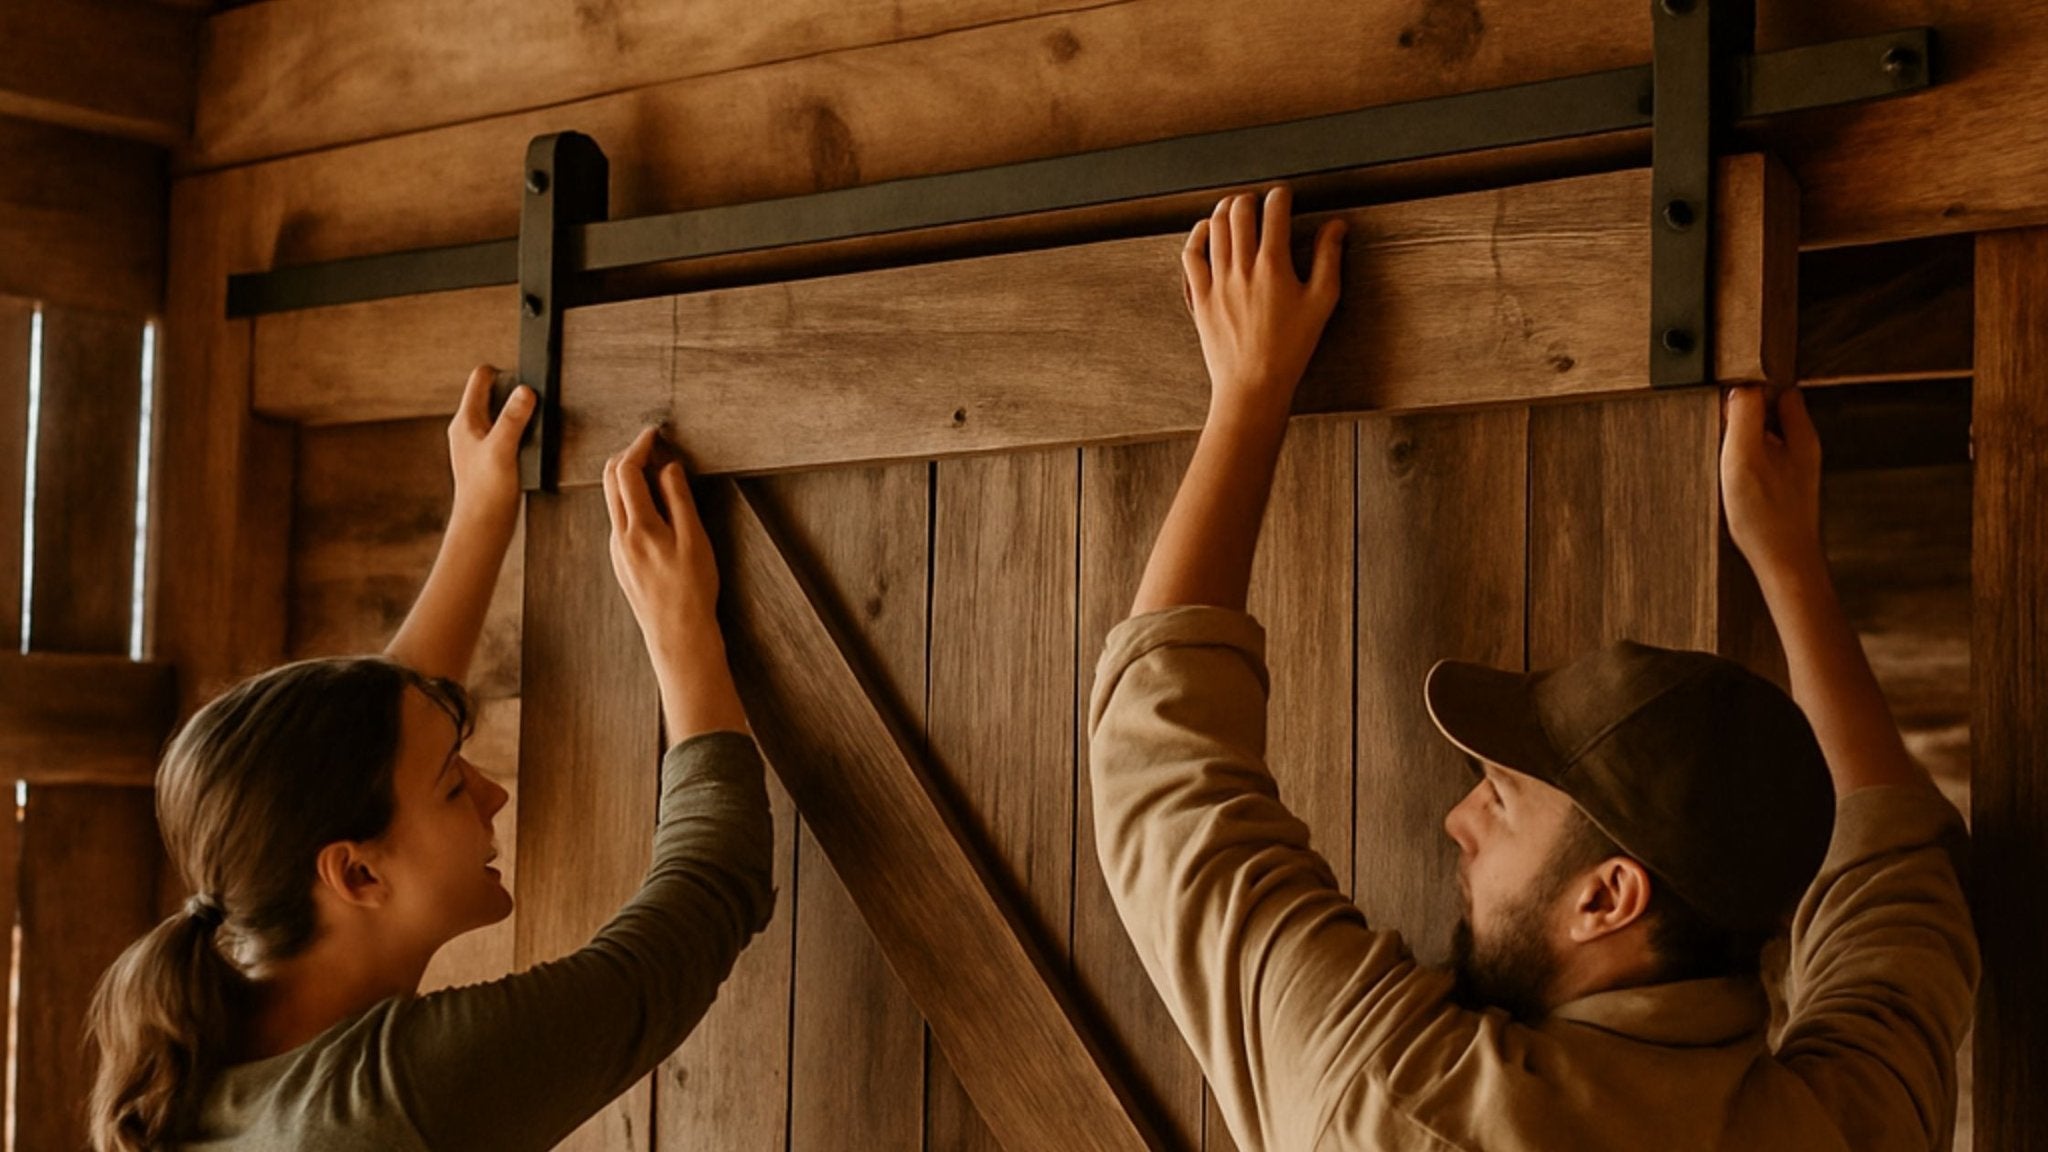
Step 4: Hang the Door (20-30 minutes)
This requires lifting something that weighs 60 to 100 pounds and patience with roller adjustment. The mistake people make is trying to do this alone.
Just don't. Two people make this easy. One person can make it miserable and increase your chances of dropping an expensive door or punching a hole in your drywall.
You can handle this if you have a helper and can follow the roller adjustment instructions in your kit.
Call a professional if your door weighs over 100 pounds or is wider than 48 inches.
Step 5: Install Floor Guide and Adjust (15-20 minutes)
You're marking the floor position and drilling into whatever floor material you have. People mess this up by positioning the guide before testing the door slide, then wondering why nothing moves smoothly.
Slide the door back and forth a few times first, then mark exactly where the guide needs to go.
Call a professional if you have radiant floor heating under there or tile you're terrified of drilling into.
Total realistic time for a beginner: 3-4 hours. Intermediate: 2-3 hours.
The Mistakes Nobody Warns You About
Your wall isn't flat. Walls have texture, bumps, and aren't perfectly plumb. Your track needs spacers to sit flush against the surface. Most barn door track kits include these spacers. Use them. Don't try to force the track flat against a textured wall.
Skipping pilot holes seems like a time-saver until you strip a screw head. Or crack your header board. Always pre-drill. Always.
Installing the track too high makes your door look weird. You need clearance above the door, but too much and it looks like it's floating awkwardly. Standard practice is one to two inches above your door height. Check your roller height first and do the math.
The screws in your kit only work for wood studs. If you have concrete, metal studs, or plaster, you need different fasteners. Research your wall type before installation day, not during.
That decorative trim around your door opening? It's probably in the way of where your track needs to go. You'll need to remove it or figure out how to route the track around it. Factor this into your planning.
Trying to hang a heavy door by yourself is how people drop $400 doors. Or put holes in their drywall. Get help. This isn't optional.
When to Definitely Call a Professional
Some situations are non-negotiable pro territory.
Structural uncertainty: You're not confident your wall can support the weight. You discovered plaster over brick or concrete behind your drywall. You have metal studs that feel flimsy when you knock on them. The studs aren't where you need them, and you're not sure how to work around it.
Complex configurations: Bypass systems with two doors on one track require real precision. Ceiling-mounted installations involve completely different physics. Corner installations, angled tracks, doors over eight feet tall or heavier than 100 pounds—these all need experience.
High stakes: You've got an expensive custom door you absolutely cannot afford to damage. This is a rental property where mistakes come out of your deposit. You're working in a historic home with irreplaceable trim work.
Time pressure: Guests are arriving in 48 hours. You're already stressed about three other things, and this will push you over the edge.
A professional installation costs $200 to $400. Fixing your DIY mistakes costs more than that. Do the math honestly.
The Reality Check Calculator
Add up your honest answers:
- Wall type you're unsure about: add 3 points
- No helper available: add 2 points
- Door weighs over 80 pounds: add 2 points
- Your stress level is already high: add 2 points
- Track installation is complex (bypass or ceiling mount): add 3 points
- You don't own the essential tools: add 1 point
- This is in a rental property: add 2 points
Your score: 0-3 points means this is DIY-friendly, go for it. 4-7 points means DIY is possible, but you'll be challenged. 8 or more points means just hiring someone. Seriously.
Knowing Your Limits Is Actually a Skill
Installing barn door hardware yourself is entirely doable for most people with basic tool skills and a free Saturday. The trick isn't figuring out if you're "handy enough"—it's being honest about whether this specific project matches your actual experience level and the time you have available.
If you're firmly in the Level 2 category with a straightforward installation ahead, consider saving $300 and doing it yourself. You'll feel good about what you accomplished, and you'll have learned something useful.
If you're attempting Level 3 complexity with Level 1 skills, you're setting yourself up for a frustrating weekend and potentially damaged materials.
There's zero shame in hiring this out. Knowing when to call for help is just as valuable as knowing when to tackle something yourself. Maybe more valuable, honestly.
The barn door hardware kit can come out of the garage either way. Just make sure you're making the call based on reality, not optimism.
