By Evan Christensen · Owner, The Barn Door Hardware Store
Published June 25, 2025 · Updated May 2026
Evan has owned and operated The Barn Door Hardware Store since 2016. Header board questions are among the most common issues his team helps customers troubleshoot — from finding studs in awkward wall layouts to choosing the right lumber for heavy solid wood doors. He and the team are available 7 days a week at info@thebarndoorhardwarestore.com.
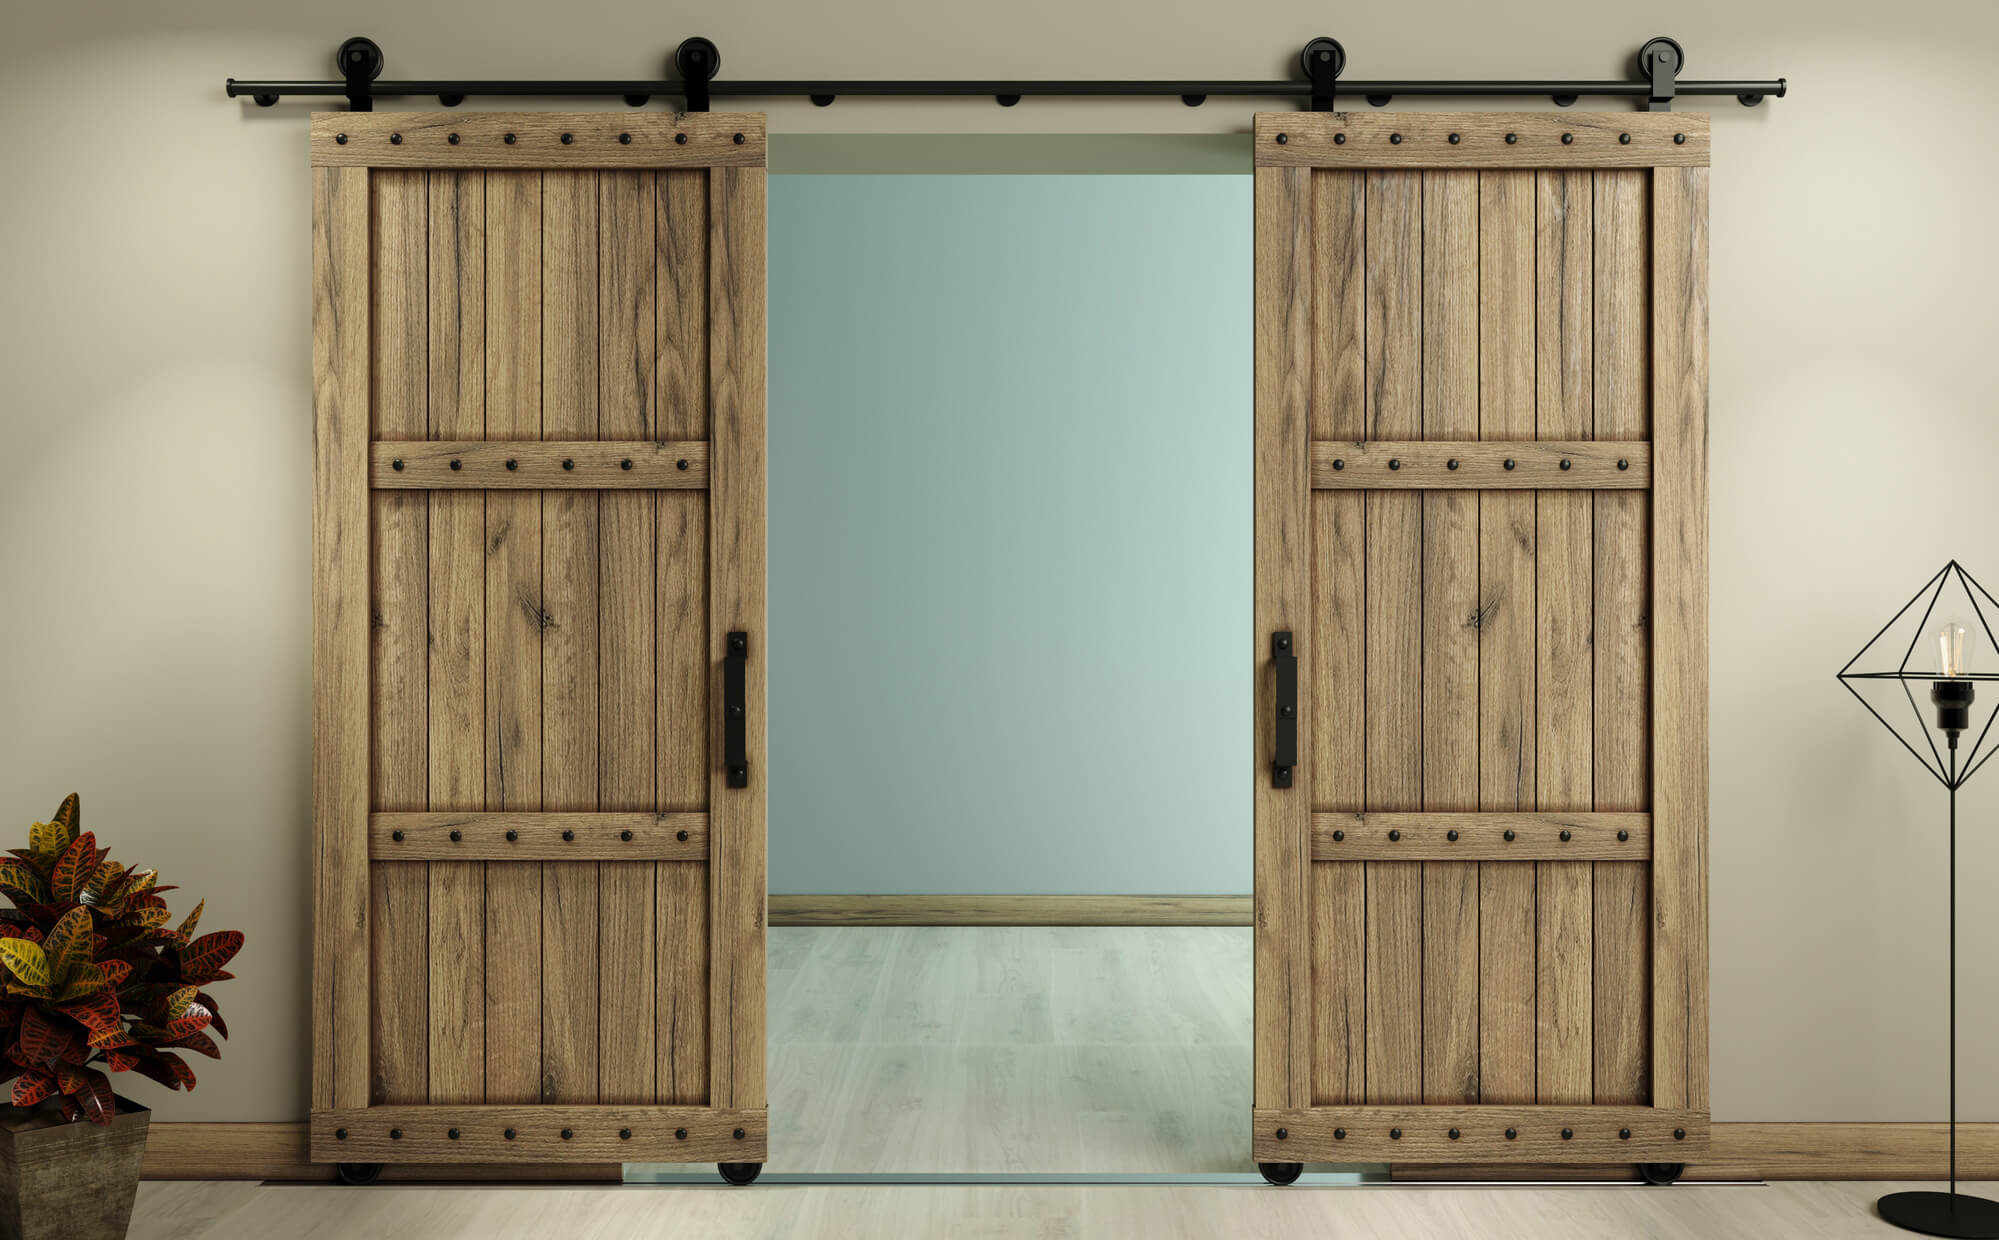
The header board is the most important part of a barn door installation — and the most skipped. Get it wrong and your track pulls away from the wall over time, your door hangs crooked, or worse, the whole thing comes down.
Get it right and everything else becomes easy.
Here's exactly how to do it, with the specific measurements and materials that actually work.

Why a Header Board Is Non-Negotiable
Barn doors are heavy. A solid wood door runs 50–150 lbs. The track, rollers, and door combined put sustained stress on whatever they're mounted to — every time someone opens or closes the door, that load transfers to the wall.
Drywall cannot handle this. Drywall alone will fail — slowly at first (the screws start to work loose), then suddenly. Even if you hit a stud, a single stud may not be enough depending on your track length and door weight.
A header board (also called a ledger board or mounting board) distributes that load across the full width of the installation. It gives your lag bolts solid wood to bite into at every mounting point, not just where studs happen to fall. It's also what makes your installation look finished and intentional rather than improvised.
If you're still weighing whether your setup needs one at all, our guide on whether you need a header board covers the cases where existing wall structure is enough.
What You Need
Header board material: Use hardwood dimensional lumber — a 1×6, 1×8, or 1×10 depending on how much of the board you want visible above the track. Oak, maple, and poplar are all good choices. Avoid pine — it's a softwood and too soft to hold lag bolts reliably under the sustained dynamic load of a sliding door. Avoid MDF or particleboard entirely — they don't hold lag bolts under any sustained load.
Thickness: Standard 3/4" dimensional lumber (sold as "1 inch" at the hardware store) is sufficient for most installations. For doors over 150 lbs, use true 1" or doubled 3/4" boards.
Length: The header board should extend to the next stud beyond each end of the track. Locate the outermost studs on both sides that fall outside the track length and use those as your end mounting points. This ensures the ends of the board — where the track stops and load concentrates — are anchored into solid structure rather than terminating mid-span.
Hardware you'll need:
- Stud finder
- Level (4-foot level is ideal)
- Drill and drill bits
- 3/8" × 3" lag bolts (one per stud, minimum)
- Wood screws for finishing
- Pencil for marking
Installing the Header Board, Step by Step
Step 1: Find Your Studs and Plan Your Layout
Run a stud finder across the wall above your door opening and mark every stud with a pencil. Standard stud spacing is 16 inches on center, but older homes vary — mark every one you find across the full header board length.
You need a minimum of 3 stud connections for a standard installation. If your header board spans an area with only 2 studs, you have two options: extend the board until you pick up a third stud, or use toggle bolts rated for your door weight to supplement between studs.
Height placement: Before positioning anything, confirm you have enough clearance above the top of the door for the hardware to fit. This minimum clearance varies by hanger style:
| Hanger style | Clearance above the door |
|---|---|
| Straight strap, straight top mount, horseshoe (standard duty) | 4" |
| J-strap, J top mount (standard duty) | 4-1/2" |
| J-strap, flat top strap, top mounts, horseshoe (heavy duty) | 5-1/2" |
| Wagon wheel, horseshoe wagon wheel (heavy duty) | 9" |
| All stainless steel styles | 5-1/2" |
| Hidden roller | 4-3/8" above the rough opening (not above the door) |
To position the track, use the track centerline height — the distance from the floor to the center of the track. This varies by hardware line, and each figure already accounts for the standard 3/8" gap between the bottom of the door and the floor:
| Hardware line | Track centerline height |
|---|---|
| Goldberg Brothers standard duty | Door height + 1-1/2" |
| Goldberg Brothers heavy duty | Door height + 1-3/4" |
| Quick Ship | Door height + 2" |
There's no single universal formula — the track centerline measurement varies by product, so always confirm the figure for your specific kit in its instruction manual. For example, an 84-inch door on Goldberg Brothers standard duty hardware places the track centerline at 85-1/2 inches from the floor. Mark this height on the wall, then position your header board so the track mounting holes align correctly.
For hidden roller hardware, measure clearance from the top of the rough opening rather than the top of the door — see the table above.
Step 2: Mark the Header Board Position
Using your height calculation, mark a level horizontal line across the wall where the top of your header board will sit. Use a 4-foot level — a shorter level can miss subtle wall variations that will cause your track to run uphill.
Double check: hold your level against the line at three points across the full width. All three should read level. Old houses settle unevenly, and a line that looks level at one end can be off by 1/4" at the other — enough to make your door drift open or closed.
Mark your stud locations on the line.
Step 3: Drill Pilot Holes
Before lifting the board to the wall, drill pilot holes through the header board at each stud location. This prevents the wood from splitting when you drive the lag bolts and makes the wall installation much faster — you're not trying to hold a heavy board level while also drilling.
Pilot hole diameter should be slightly smaller than your lag bolt shaft. For 3/8" lag bolts, use a 5/16" pilot bit.
Step 4: Mount the Header Board
This step is genuinely easier with two people. One holds the board level against the wall, the other drives the lag bolts.
Hold the board against the wall, aligning the pilot holes with your stud marks. Check level one more time before driving anything. Drive one lag bolt at the center stud first — this locks the board in place while you check alignment and drive the remaining bolts.
Work outward from center. Drive each lag bolt until snug but don't fully tighten until all bolts are started — this lets you make small adjustments. Once all bolts are in, tighten fully. The board should sit completely flush against the wall with no gaps or flex.
Test it: push and pull on the board firmly at multiple points. There should be zero movement.
Step 5: Mount the Track
With the header board solid, follow your specific hardware kit instructions for track placement. For a full walkthrough of that step, see our sliding door track installation guide. A few things apply to all installations:
Mark track bracket positions on the header board with a level before drilling anything. Even a track that's slightly off level will cause your door to drift.
Use the lag bolts or screws included with your hardware kit — these are sized for the load rating of your specific hardware. Don't substitute smaller fasteners to save time.
After mounting, hang a tape measure from the track and check that the track-to-floor distance is consistent across the full length. Variation of more than 1/8" will be visible in how the door hangs.
Which track and hardware is right for your door? This depends on door weight, width, and whether you're doing a single, double, bypass, or bifold installation. Our hardware finder takes you through the key questions and recommends the right kit. If you already know what you need, our hardware kits ship with full installation instructions specific to each system.
Step 6: Hang the Door, Add Stops and Floor Guide
Once the track is mounted, hang the door according to your hardware kit instructions. Our step-by-step guide to hanging a barn door covers the full sequence. Rollers attach either before or after placing the door on the track depending on the system — follow the specific sequence for your kit.
After hanging, test the slide. It should move smoothly with light pressure across the full travel. Any sticking points indicate a track alignment issue — check level again before proceeding.
Door stops: Install at both ends of the track to prevent the door from rolling off. These are included in all our hardware kits. Position them so the door fully covers the opening at the closed end, and clears the wall completely at the open end.
Floor guide: This keeps the bottom of the door from swinging away from the wall. Our barn door floor guide options include wall-mounted, floor-mounted, and recessed styles. For most installations, a wall-mounted guide is the cleanest option — nothing on the floor to trip over or collect dirt. For bathrooms, choose a guide with a rubber gasket to help seal the bottom gap.
When You Can't Hit Studs
Sparse studs: Extend the header board to pick up more studs. Every additional stud connection adds significant strength. A longer board that hits 4 studs is always better than a shorter one hitting 2.
No studs in the right location: Use toggle bolts rated for at least 3x your door weight, distributed evenly across the board. This is a last resort — stud mounting is always stronger.
Concrete or masonry walls: Use masonry anchors (sleeve anchors or wedge anchors) with a hammer drill. Pre-drill with a masonry bit sized to your anchor. Concrete mounting is actually very strong once done correctly.
Tile walls: Drill through tile with a diamond-tipped bit at low speed with water cooling. Mark tile drilling points with tape to prevent bit slipping. This is slow and requires care, but absolutely doable.
Common Mistakes That Cause Problems Later
Board too short: If the header board doesn't extend past the track ends, the outermost mounting points have no support and the track will eventually pull away from the wall at the ends.
Skipping pilot holes: Driving lag bolts without pilot holes into dry lumber can split the wood, weakening the connection even if it looks solid initially.
Not checking level at multiple points: A line that's level in the middle can be off at the ends. Check three points minimum.
Using drywall anchors instead of studs: Drywall anchors are not rated for the dynamic load of a sliding door. Use studs or proper toggle bolts rated for the weight.
Need Help Choosing Hardware?
If you're at the header board stage, you're close to ready to order. Our hardware kits include everything you need — track, rollers, stops, floor guide, and all mounting hardware — with instructions specific to your installation type.
Not sure which kit is right for your door? Use our hardware finder or contact us directly. Header board questions are exactly what we help with every day.
