By Evan Christensen · Owner, The Barn Door Hardware Store
Published August 7, 2025 · Updated April 2026
Evan has owned and operated The Barn Door Hardware Store since 2016. Finishing a barn door is one of the most satisfying parts of any installation project — and one of the most common areas where his team gets asked for advice. He and the team are available 7 days a week at info@thebarndoorhardwarestore.com.
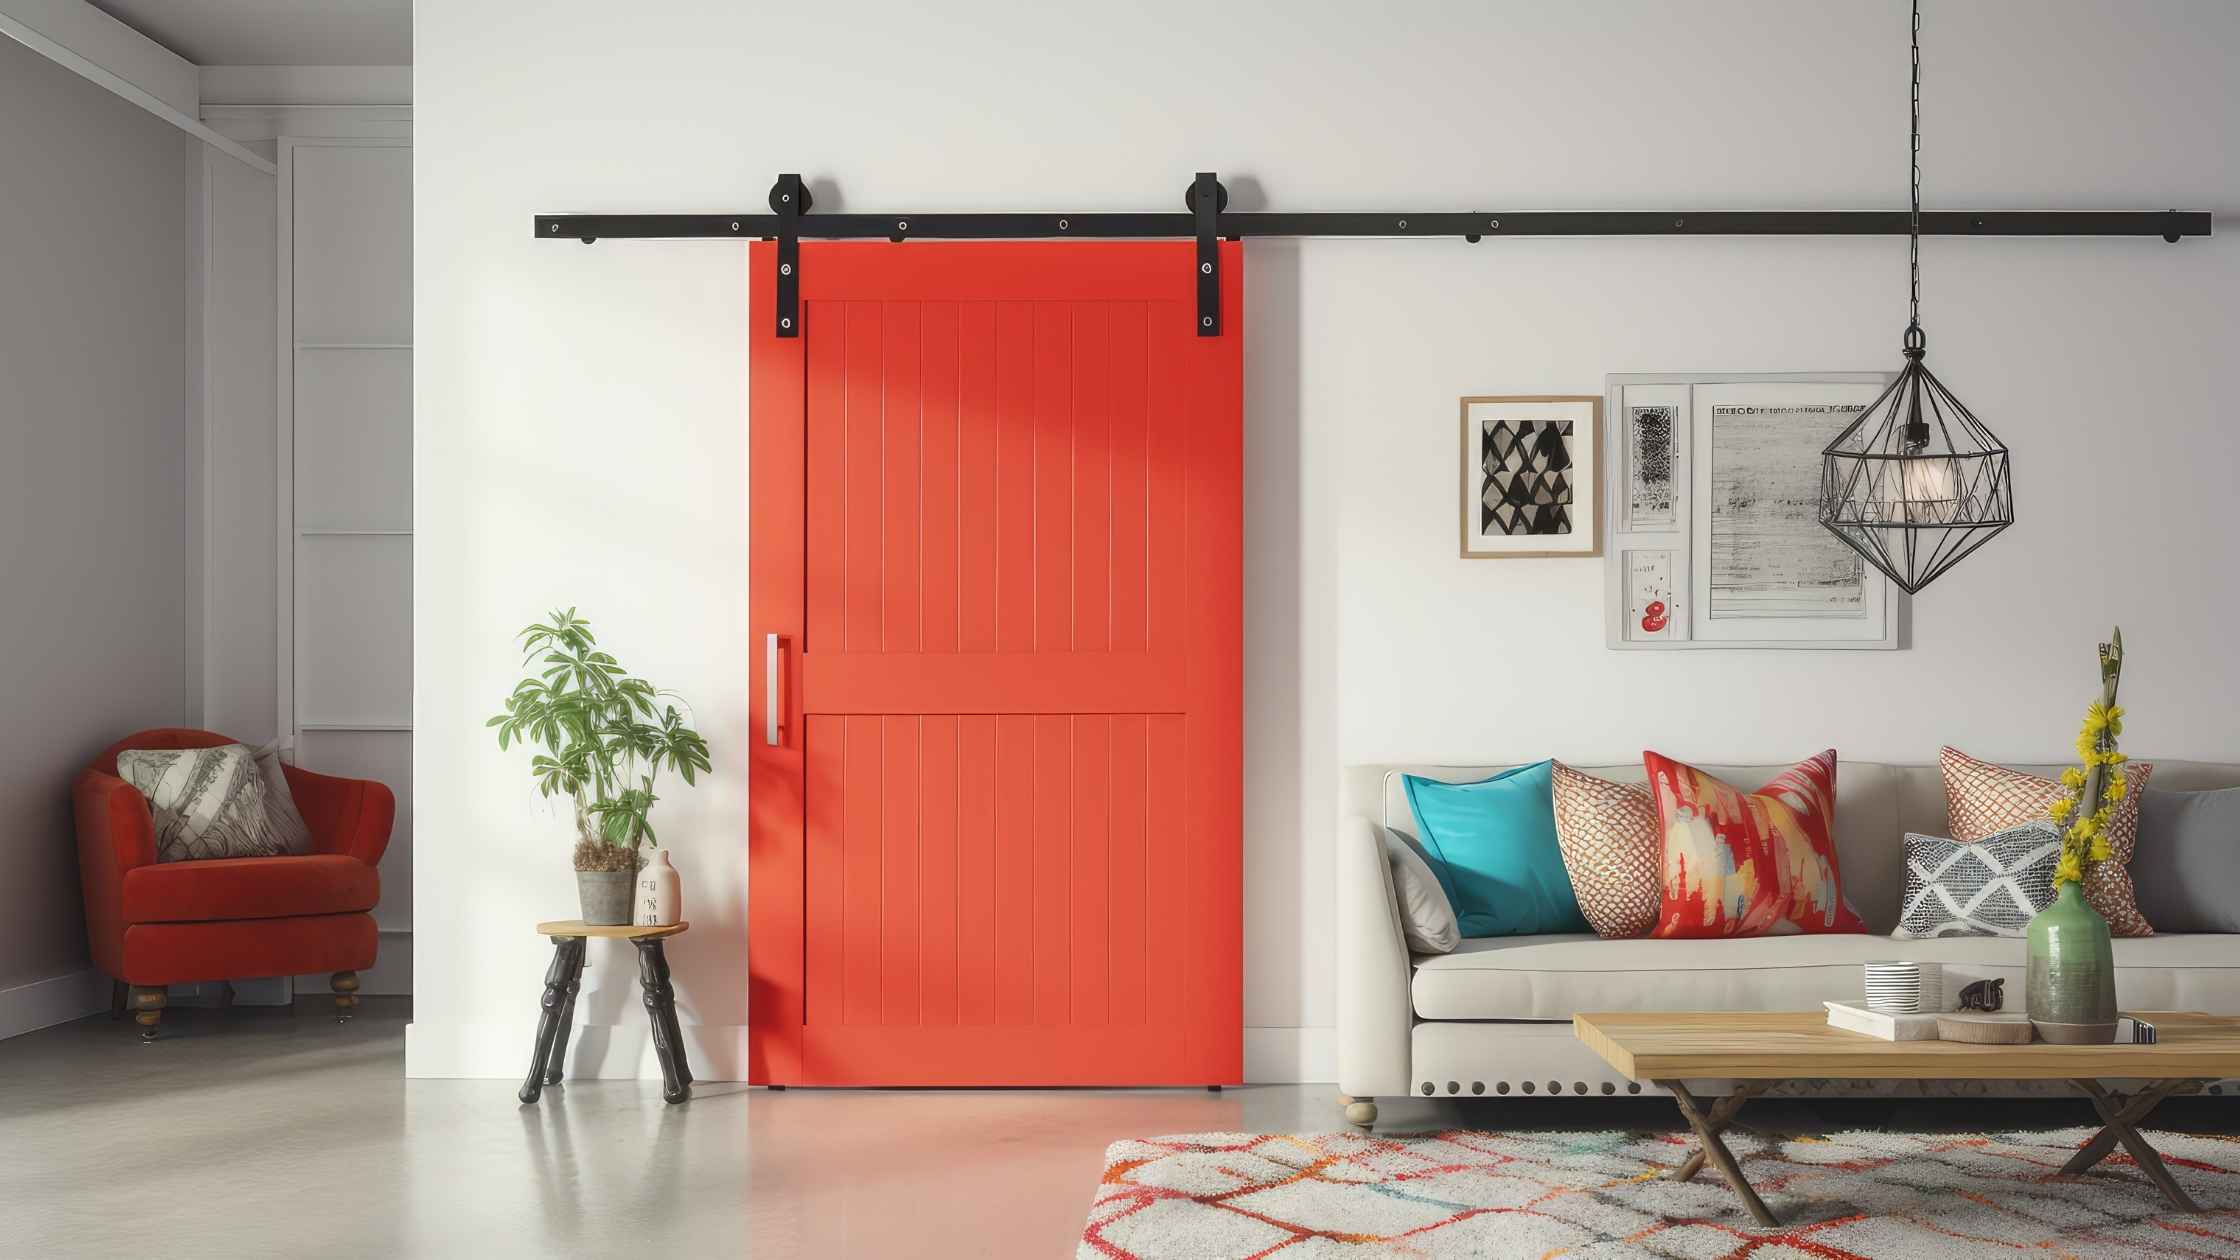
Your barn door is already doing the functional work — sliding smoothly, saving space, dividing rooms. But the finish is what makes it yours. Whether you want a bold matte black statement door, a sun-bleached whitewash, or a rich walnut stain that lets the grain do the talking, the right finish transforms raw wood into a design feature.
This guide covers everything: what tools you'll need, how to prep the surface properly, which finish type suits which look, how to apply it cleanly, how to seal the edges so the door doesn't warp, and how to rehang your hardware once the job is done.
Why finishing your barn door matters
Beyond aesthetics, a good finish protects your door from daily wear, moisture, and UV damage. An unfinished wood door will absorb humidity, potentially warp over time, and scuff easily. A properly sealed surface, on the other hand, is durable, easy to wipe clean, and looks intentional rather than unfinished.
What you'll need
You don't need a professional setup, but a few basics keep the job smooth and the finish even:
- Fine-grit sandpaper (120–220) and a sanding block
- Wood filler for dents, cracks, or holes
- A vacuum with a brush attachment plus a tack cloth for dust
- Drop cloth or tarp, and painter's tape to mask off glass panels or hardware
- Primer (for paint) or a pre-stain wood conditioner (for stain on soft woods)
- Your finish of choice — paint, stain, or varnish
- A high-quality brush, foam applicator, roller, or sprayer
- A protective topcoat (polyurethane or similar) if you're staining
- Two sawhorses or a raised work surface, plus gloves
Starting from scratch? Our unfinished and finished pine barn door panels give you a clean canvas to work from.
Step 1: Prepare the surface
Good prep is the difference between a finish that lasts years and one that peels within months. Don't skip this.
Remove the hardware first. Take down the door and detach all rollers, handles, and floor guides. Store screws and small parts in a labeled bag so nothing gets lost. This is also a good time to inspect your hardware — if anything is worn or you've been wanting to upgrade, now's the moment before the door is freshly painted.
Clean thoroughly. Dust, grease, and oils prevent paint and stain from bonding. Wipe the door down with a mild all-purpose cleaner or TSP substitute on a damp cloth. Rinse and let it dry completely before moving on.
Refinishing an already-painted or stained door? You don't have to strip it back to bare wood. Scuff-sand the whole surface with fine-grit paper just enough to dull the existing sheen so the new finish can grip, then wipe off the dust. The one exception is switching from paint to stain — stain won't penetrate through paint, so a painted door has to be sanded or stripped back to raw wood before it will take stain.
Repair and sand. Inspect for dents, scratches, cracks, or holes. Fill imperfections with wood filler, let it dry, then sand smooth — starting with a coarser grit and finishing with a fine grit (120–180), always sanding in the direction of the grain.
Dust off. Use a vacuum with a brush attachment followed by a tack cloth to remove every particle. Any dust left behind will show up in your finish.
Prime if painting. Always use a high-quality primer compatible with your chosen paint. It improves adhesion, creates a uniform base, and helps your topcoat go on smoother. If you're staining instead, skip the primer — it blocks penetration. For soft or porous woods like pine, use a pre-stain wood conditioner to prevent blotchy absorption.
Step 2: Choose your finish
This is where the look comes together. There are three main routes: paint, varnish, or stain. Each suits different aesthetics and wood types.
Paint gives you the most design flexibility and the most complete color transformation. Three main types to know:
- Latex (water-based) — easiest to clean up, dries faster, good for most interior applications
- Alkyd (oil-based) — harder, smoother finish, longer dry time, better for high-traffic doors
- Chalk paint — ultra-matte finish, excellent for distressed or farmhouse looks, minimal prep required
Aesthetic directions with paint:
- Solid color — choose a satin or semi-gloss finish in a bold accent color for a clean, modern look
- Distressed/shabby chic — apply a dark base coat, then a lighter topcoat in white or pastel, and sand back the edges once dry to reveal the layer beneath. Chalk paint is ideal here.
- Color wash — dilute paint with water or glaze medium and apply thinly, wiping off excess so the wood grain shows through for a soft, bleached effect
Varnish protects the natural wood while adding depth and sheen. Best when you love the wood itself and want to preserve it. Types include:
- Polyurethane (oil or water-based) — the most common choice, very durable
- Lacquer — hard and fast-drying, typically sprayed
- Shellac — natural option, easier to apply, but less moisture-resistant
Finish level matters: matte or satin for a natural, understated look; semi-gloss or gloss for a more polished, reflective surface.
Stain enhances the grain rather than covering it — best for doors where the wood itself is the feature. Types include:
- Oil-based — deeper penetration, richer color, longer dry time
- Water-based — lighter color, quicker dry, lower odor
- Gel stain — thicker consistency, more forgiving on uneven surfaces
Stain always needs a protective topcoat (polyurethane or similar) once fully dry.
Step 3: Apply the finish
Always work in a well-ventilated area and apply thin coats — multiple thin coats will always look better than one thick one.
For paint: Use a high-quality synthetic brush for latex paints, natural bristle for oil-based. Apply 2–3 thin coats, allowing full dry time between each. Lightly sand with 220-grit sandpaper between coats and wipe clean before the next application.
For varnish: Apply with a quality brush or sprayer. Don't overwork the varnish — too many strokes creates bubbles. Apply 2–3 thin coats, sanding lightly with 320-grit between each. The final coat can be left as-is or buffed for extra smoothness.
For stain: Apply with a brush, foam applicator, or clean rag, working in the direction of the grain. Let it penetrate for the time recommended on the tin, then wipe off any excess with a clean rag. Uneven application or leaving excess on too long can create dark patches. Once fully dry, apply a protective topcoat.
Seal every face and edge. Coat both sides of the door and all four edges — including the top and bottom, which are easy to skip because they're out of sight once the door is hung. Bare, unsealed edges let moisture in unevenly, which is the most common cause of a finished door warping. For the same reason, don't finish one side and leave the other bare for days; coat both sides within a close window so the door dries evenly.
Safety note: Rags soaked in oil-based stain or finish can self-combust as they dry. Lay them flat outdoors to dry fully, or seal them in a metal container with water — never ball them up in a trash bag.
Common issues to watch for:
- Bubbles in varnish — caused by overworking or applying in direct sunlight. Sand back and reapply.
- Paint drips — too much product on the brush. Sand smooth once dry and blend in with the next coat.
- Blotchy stain on pine or soft wood — skip ahead and use a pre-stain conditioner on the next door. For this one, a second coat of stain often helps even it out.
Step 4: Rehang the hardware
Once your final coat is fully cured — not just dry to the touch, but fully hardened (typically 24–72 hours depending on the product) — it's time to rehang. Reattaching hardware too soon can dent or mark your fresh finish.
Reinstall your rollers, handles, and floor guide following the original positions. If you removed the door from a track system for easier painting, rehang it using the same process as the original installation. Check that the door slides smoothly and that the floor guide is still properly aligned.
If you've been thinking about upgrading your hardware to match the new finish — a matte black track with a freshly painted black door, for example, or brushed nickel to complement a natural stain — now is the perfect time before the door goes back up. Browse our full range of barn door hardware kits to find a finish that ties the whole look together.
The finished result
A well-finished barn door doesn't just look good on day one — it holds up to daily use, resists moisture and scuffs, and keeps its look for years. The prep work and finish choice matter far more than most people expect going in. Get those two things right, and the application is the easy part.
Ready to upgrade the hardware to match your new finish? Explore our sliding barn door hardware kits, handles, and soft-close systems — and if you need help choosing, our team is available 7 days a week at info@thebarndoorhardwarestore.com.
Frequently asked questions
Should you paint or stain a barn door?
It comes down to whether you want to show the wood or cover it. Stain enhances the grain, knots, and character — best when the wood itself is the feature. Paint gives you full color and hides the grain — best for a bold, uniform, or modern look. Varnish sits in between: it protects and adds sheen while keeping the natural wood visible.
Do you need to prime a barn door before painting?
Yes — for paint, always prime first. Primer improves adhesion, evens out absorption, and helps the topcoat go on smoother. If you're staining, skip the primer (it blocks penetration) and use a pre-stain wood conditioner instead on soft or porous woods like pine.
Can you paint or stain over an existing finish?
For paint or varnish over an old finish, you don't need to strip to bare wood — just scuff-sand to dull the sheen, clean off the dust, and coat. Going from paint to stain is the exception: stain won't penetrate paint, so you'll have to sand or strip back to raw wood first.
Should you finish the door on or off the track?
Off the track is best. Taking the door down lets you lay it flat, reach every edge, and seal the top and bottom cleanly. If you have to finish it in place, tape off the track and hardware and expect a less even result along the edges.
How long before you can rehang the door?
Wait for the finish to fully cure, not just dry to the touch — typically 24–72 hours depending on the product. Rehanging too soon can dent or mark the fresh finish.
Can you finish an exterior or outdoor barn door?
Yes. Use an exterior-grade paint or a polyurethane rated for outdoor use, and seal every face and edge so moisture can't get in. Keep in mind that only stainless steel hardware is rated for outdoor and coastal use — standard powder-coated steel is built for interior installs.
Related guides:
