By Evan Christensen · Owner, The Barn Door Hardware Store
Published July 12, 2024 · Updated May 2026
Evan has owned and operated The Barn Door Hardware Store since 2016. Installation cost questions usually come down to two things: whether to DIY or hire a pro, and what accessory purchases weren't accounted for before the kit arrived. He and the team are available 7 days a week at info@thebarndoorhardwarestore.com.
Barn door installation cost has two components: the labor cost (what it costs to get the hardware on the wall) and the accessory cost (the items most people don't budget for until the kit arrives and they realize something is missing). This guide covers both.
For hardware cost — what the kit itself costs — see our barn door cost guide. This guide is specifically about installation.
What barn door installation actually involves
A standard single sliding barn door installation involves four main steps:
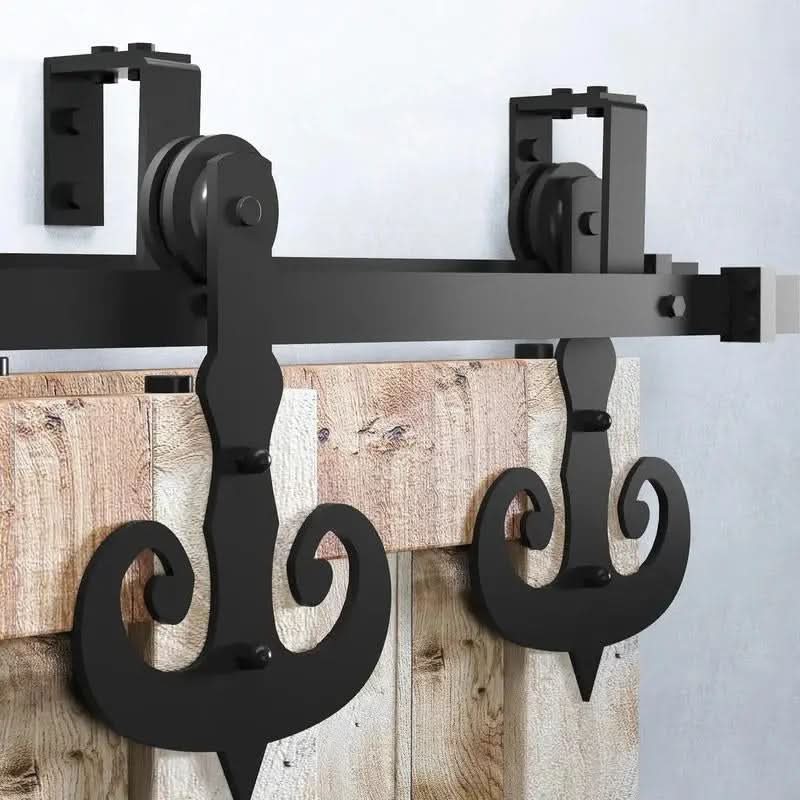
- Installing the header board. In most installations, a 1×6 hardwood board is mounted above the opening spanning the full track length and secured into the studs behind it. This is the structural foundation for the entire installation — if it's done poorly, nothing else works properly.
- Mounting the track. The track mounts to the header board with lag bolts and spacers. Level matters here — even a fraction of a degree off level causes the door to drift. This is where most first-time installers slow down.
- Hanging the door. The door panel with hangers attached is lifted onto the track. For heavier solid wood doors, you need at least two people for this step.
- Installing the floor guide. The floor guide constrains the bottom of the door to prevent swing. It's the last step but not optional — without it, the door swings away from the wall whenever it's pushed.
For a full step-by-step walkthrough, see our barn door installation guide.
DIY vs. professional installation
Most barn door installations are DIY-friendly for a moderately handy homeowner. The steps are straightforward — the parts that require the most care are leveling the track and locating studs for the header board. Get those right and the rest follows logically.
Professional installation makes more sense when:
- Your walls are old plaster or have irregular framing. Stud location and header board mounting are less predictable in older construction. A pro can address this without damaging the wall.
- An electrical outlet or switch is in the door's travel path. Moving an outlet requires an electrician. This is separate from the door installation itself but often surfaces during planning.
- The door is very heavy. A 200 lb solid wood or metal-framed door requires more people and more careful handling than a standard solid-core door. Professional installation is worth considering if you don't have adequate help.
- The configuration is complex. Bypass and bifold installations require more precise track alignment than single sliding. If it's your first time and the configuration has multiple tracks or parallel rails, professional installation reduces the risk of a poorly aligned track that's frustrating to fix later.
The labor cost of professional installation varies by region and contractor. Get at least two quotes before committing, and make sure the quote specifies whether header board installation is included — it often isn't in the initial estimate.

Accessory costs to budget for before ordering
These are the purchases that catch customers off guard at installation time. Plan for them upfront.
| Item | When you need it | Notes |
|---|---|---|
| Header board | Almost always | 1×6 hardwood (oak, maple, or poplar — not pine) spanning the full track length. Required when studs don't align with all track mounting points. Source locally. |
| Trim clearance kit | If casing or trim surrounds the opening | Includes longer bolts and extra spacers to bridge trim up to 1-1/4 in. Separate purchase for all kits. Over 1-1/4 in, email us before ordering. |
| Wall-mounted floor guide | If you have finished flooring you won't drill into | Standard kits include a floor-mounted T guide. If you have hardwood, tile, or LVP, you need a wall-mounted alternative. Browse our floor guides. |
| Latch | Bedrooms, bathrooms, any door you want held closed | Hardware kits don't include a latch. Browse our locks and latches. |
| Handles | Standard and heavy duty kits | Standard and heavy duty kits don't include handles. Bifold kits do. Browse our handles collection. |
| Soft close | Bedrooms, shared walls, high-traffic doors | Available as add-on at order or retrofittable after installation. Worth adding before the door goes up rather than after. |
| Pile weatherstrip | Bathrooms, bedrooms, or anywhere light bleed matters | Reduces edge gaps and light bleed. Not included in any kit. Available at hardware stores — look for pile or brush pile specifically, not foam or rubber compression seals. |
How to keep installation cost down
- Account for all accessories before ordering. A second shipping charge for a missed floor guide or trim clearance kit costs more than the item itself. Walk through the accessory list above before checkout.
- Source the header board locally. A 1×6 hardwood board from a local lumber yard costs a few dollars per foot. Buying it locally and cutting it to length is significantly less expensive than sourcing it online.
- DIY if the wall situation is standard. Standard drywall with wood stud framing, no complex trim, and a door under 120 lbs is well within DIY territory for most homeowners. Save the professional installation budget for the situations that genuinely need it.
- Add soft close at order time, not after. Retrofitting soft close is possible but involves dismounting the track and reinstalling. Adding it at the time of order is the same cost and less effort.
- Confirm the opening before ordering. The most expensive installation mistake is ordering for the wrong opening or with the wrong configuration. An email to us before ordering — with your opening dimensions and wall clearance — costs nothing and prevents wrong orders.
Want to confirm your accessory list before ordering?
Email us at info@thebarndoorhardwarestore.com with your opening dimensions, flooring type, and whether you have trim around the opening — we'll confirm exactly what you need before anything ships. Available 7 days a week.
