Sliding barn door hardware kits since 2016 — Goldberg Brothers made-to-order, plus our Quick Ship line that ships in 2–3 business days. The #1 ordering mistake is track length: it must be at least twice your door width. Use the configuration table below or our hardware finder.


Everything on this page is hardware only — track, rollers, hangers, and mounting hardware. No door included. If you want door and hardware together as one bundled purchase, that's our barn door kits collection. Most customers are better served sourcing a door locally and buying hardware here; it keeps costs down significantly and opens up far more door options than any single retailer can stock.
We've been fitting barn door hardware since 2016. The questions that follow — which kit configuration to choose, how long a track needs to be, what's actually in the box — are the same ones we answer every week. What's here is what we've learned across thousands of installs.
If wall clearance beside the opening is limited, see our bifold hardware kits before committing to a standard sliding configuration. For heavy doors — thick solid wood, metal-framed, or oversized panels — go straight to heavy duty kits.
Which kit configuration do you actually need?
The configuration decision comes before the product decision. Most ordering regret starts with picking a kit type before fully accounting for the opening width, available wall clearance, and door count.
| Kit type | How it works | Best situation | Key constraint |
|---|---|---|---|
| Standard sliding | Single door slides to one side | Single doorways with open wall space on at least one side | Needs clear wall equal to full door width on the slide side |
| Single bypass | Two doors pass each other on a shared track | Wider openings where wall clearance on both sides is limited | Doors overlap slightly at center when closed |
| Double bypass | Two doors on two parallel tracks | Wide openings where both panels need to fully clear the opening | Greater depth from wall than single track — check casing clearance |
| Triple bypass | Three doors on three parallel tracks | Very wide openings requiring three-panel coverage | Deepest wall projection of any configuration — measure carefully |
| Heavy duty | Single door, higher load rating | Thick solid wood, metal-framed, or oversized doors | Verify door weight before ordering a standard-rated kit |
| Hidden roller | Single door, full roller assembly hidden — only the track and track stops remain visible | Clean installs where visible hardware above the door isn't wanted | Hardware is less accessible for post-install adjustment |
| Ceiling mount | Track attaches to ceiling joists, not wall | No solid header available in the wall above the opening | Requires accessible ceiling joists in the right location |
| Cabinet mini | Scaled-down sliding hardware | Cabinet doors, furniture pieces, small built-in openings | Not rated for full-size door weights |
| Stainless steel | Single door, corrosion-resistant hardware with a premium finish | Outdoor, coastal, or high-humidity environments; also interior installs where a more refined finish aesthetic is the priority | More expensive than standard kits; style selection is more limited |
For a deeper breakdown of double door configurations — biparting, bypass, and bifold — see our double barn door guide. For bypass specifically, see our bypass track guide.
The track length rule most people get wrong
This is the most common ordering mistake we see, and it's entirely avoidable.
For a standard single sliding barn door: the track must be at least twice the width of the door. A 36-inch door needs at minimum a 72-inch track. That's what it takes to slide the door completely clear of the opening.
Where people go wrong: they measure the rough opening, order a track to match it, and end up with a door that can only slide halfway open. That's not a functional barn door — and it's an expensive mistake to have to ship back.
Door width to minimum track length
| Door width | Minimum track length |
|---|---|
| 28 in | 56 in |
| 30 in | 60 in |
| 32 in | 64 in |
| 36 in | 72 in |
| 40 in | 80 in |
| 42 in | 84 in |
| 48 in | 96 in |
For bypass configurations, track length math is different — each bypass kit page covers the specific calculation for that configuration. When in doubt, email us your door width and rough opening before you order.
For the full pre-order measurement checklist — door width, track length, wall clearance, and ceiling clearance — see our barn door measuring guide. For track dimensions, stiffness, and junction plate guidance, see our sliding door track guide.
What's in the box — and one thing that usually isn't
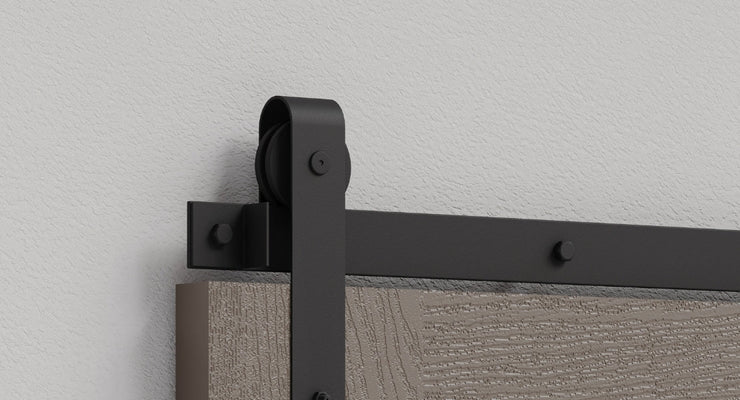
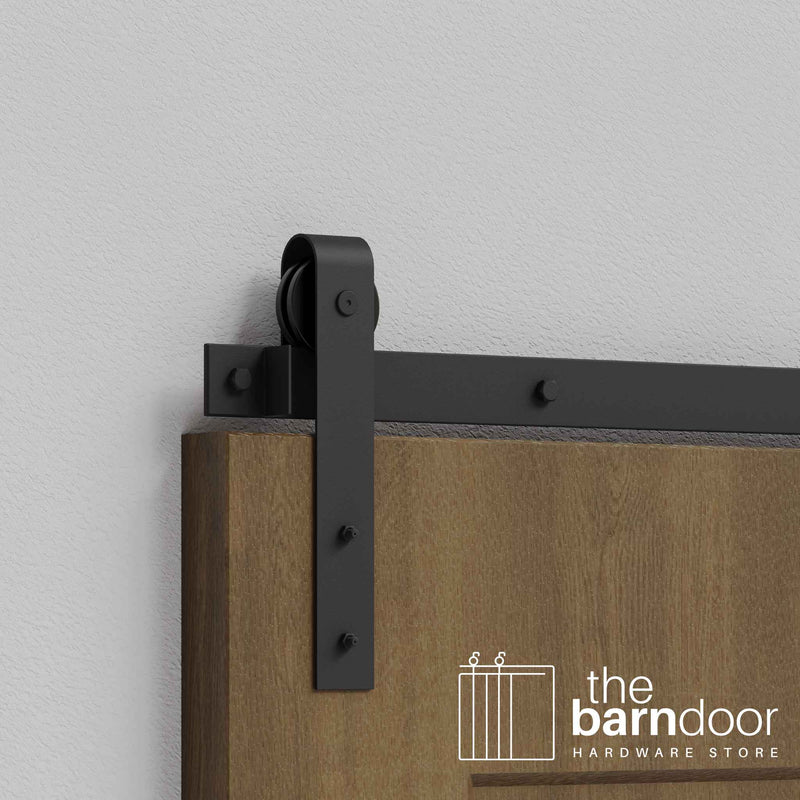
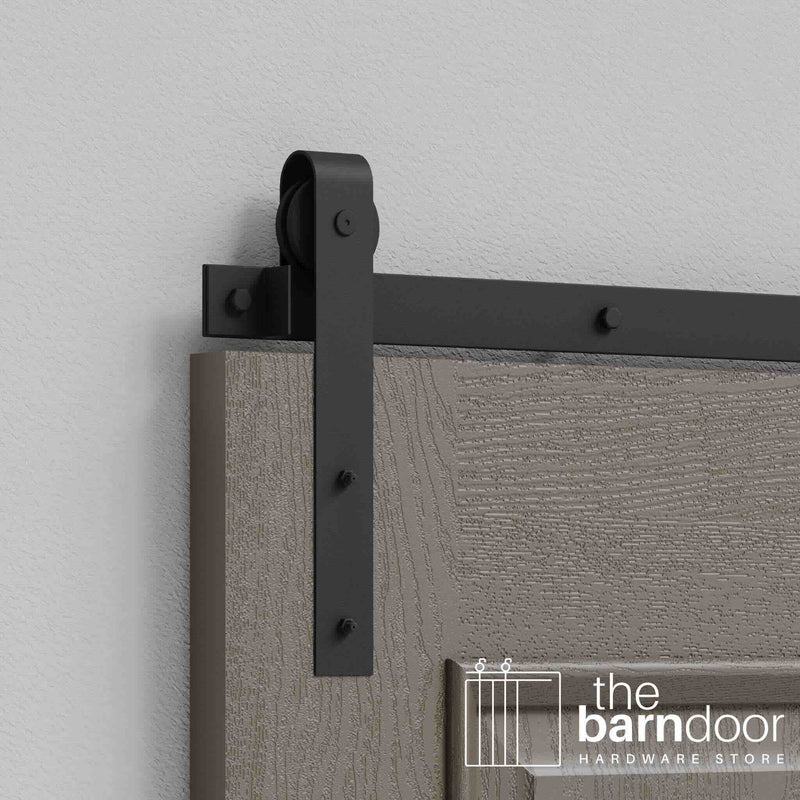
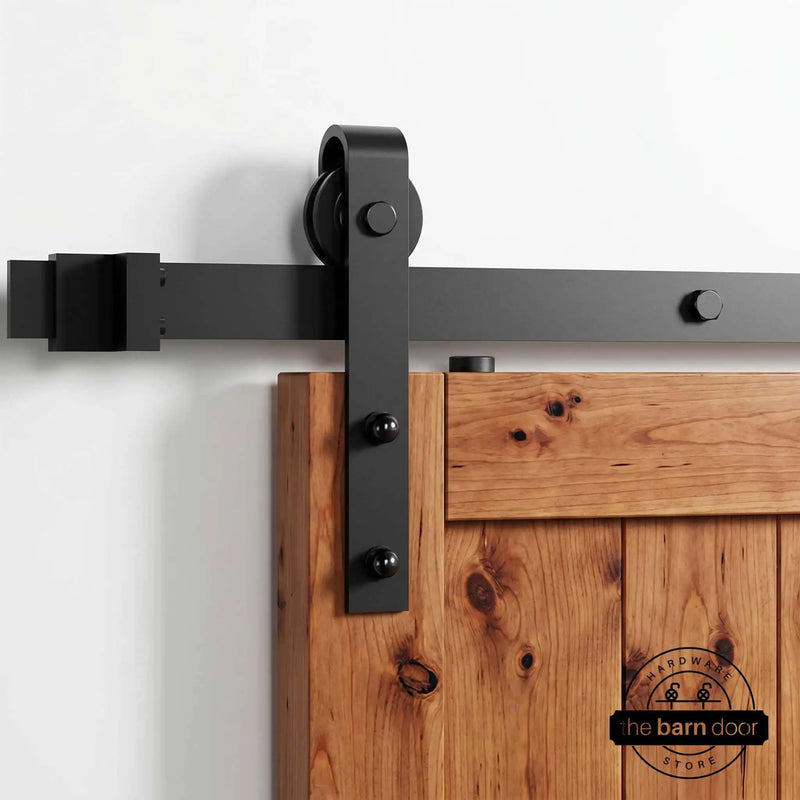
Every barn door hardware kit includes the track, rollers, hangers, and mounting hardware needed to hang and operate the door. It's a complete sliding system, minus the door panel itself.
What most kits don't include: a wall-mounted floor guide.
The standard floor guide in most kits mounts directly to the floor — fine on concrete subfloors or anywhere you're comfortable putting a screw in the floor. If you have finished hardwood, tile, LVP, or any flooring you'd rather not drill into, you'll need a wall-mounted floor guide instead. It does the same job, mounts to the baseboard or wall, and leaves your floor untouched.
This is the most common accessory gap after an order ships. If there's any chance your flooring rules out a floor screw, add a wall-mounted floor guide before you check out.
For guidance on latch types and which is right for your application, see our barn door latch types guide. For doors wider than 60 in, an additional roller is strongly recommended — see our extra rollers guide.
The brands we carry and how we think about them
We stock Goldberg Brothers hardware and our own house value line. Here's the honest version of the difference.
Goldberg Brothers
This is what we recommend for most installs — specifically for any door that's heavy, solid wood, or metal-framed. The steel tolerances are tighter than other brands at a comparable price point, which shows up in smoother operation and fewer adjustments after installation. Across every brand we've stocked since 2016, Goldberg has produced the fewest warranty claims and customer callbacks. Their support is also genuinely responsive if something comes up post-install.
Our house value line
A real option for budget-driven projects and lighter interior doors. Customers install it successfully every day. We won't push it on a project where Goldberg is the better fit — but if your door is lightweight and your budget is the primary constraint, the value line gets the job done.
Not sure which kit is right for your opening?
Email us at info@thebarndoorhardwarestore.com with your opening width, door weight estimate, available wall clearance on each side, and ceiling clearance above the opening — we'll confirm the right configuration, hanger style, and track length before anything ships. Available 7 days a week.
