By Evan Christensen · Owner, The Barn Door Hardware Store
Published April 21, 2024 · Updated April 2026
Evan has owned and operated The Barn Door Hardware Store since 2016. Trim clearance is one of the most common hardware selection questions he helps customers sort out before ordering — getting it wrong means the door rubs or impacts the casing on installation day. He and the team are available 7 days a week at info@thebarndoorhardwarestore.com.
When customers ask about barn door trim, they're usually not asking about the decorative trim on the door panel itself. They're asking about the door casing — the molding that frames the existing opening — and whether they need to remove it to install barn door hardware. It's a practical hardware question, not a style question, and the answer affects what you need to order before the hardware ships.
The short answer: you don't have to remove it. But if you keep it, the door needs extra clearance to slide over it without rubbing — and that clearance requires specific hardware. This guide covers how trim affects barn door hardware installation, what a trim clearance kit does, and when removing the trim is worth the extra work instead.
Why trim creates a hardware clearance problem
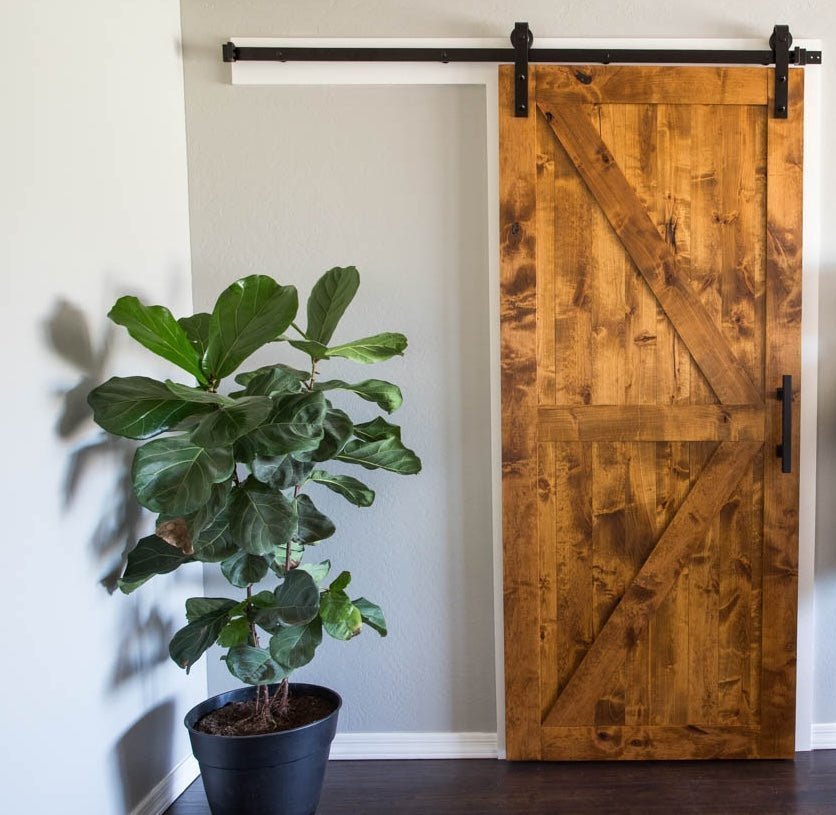
Standard barn door hardware — like the Classic J-Strap — is designed to hold the door approximately 3/8" from the wall surface. That gap exists to allow the door to slide smoothly without friction against the wall — it also accommodates the floor guide at the bottom and minor wall irregularities along the travel path.

Door casing — the molding that frames a standard hinged door opening — typically projects 1/2" or more from the wall surface. If your hardware holds the door 3/8" off the wall and your trim projects 1/2", the door will contact the trim as it slides. At best it rubs; at worst it catches and stops the door mid-travel.
This is the trim problem in a barn door installation. It's not about whether trim looks good or bad — it's about whether the door physically clears the trim as it slides across the opening.
The 3/8" minimum clearance also applies to walls that aren't perfectly flat. Walls bow slightly between studs, and any projection — trim, baseboards, outlet covers — along the door's travel path needs to stay within that clearance. Measure the actual projection of your trim before deciding how to handle it.
Option 1: keep the trim and add a trim clearance kit
For most installations with existing door casing, a trim clearance kit is the simplest solution. It includes additional spacers that stack onto the spacers already provided in your hardware kit, along with longer lag bolts to safely secure the hardware to the wall at the increased depth.
The goal is to push the track — and therefore the door — far enough from the wall that the door clears the trim with at least 3/8" to spare. That margin accounts for the floor guide, wall irregularities, and ensures the door slides without contact across the full travel path.
| Trim projection | What you need |
|---|---|
| No trim | Standard hardware — no additional spacers needed |
| Any trim up to 1-1/4" | Trim clearance kit — additional spacers and longer bolts to maintain 3/8" door-to-wall clearance |
| Over 1-1/4" | Email us before ordering — info@thebarndoorhardwarestore.com |
Alternative: install a header board. Mounting a header board — a flat piece of hardwood fastened across the studs above the opening — is another way to clear existing trim without purchasing a trim clearance kit. The header board sits proud of the wall surface, moving the track mounting point forward past the trim. It also provides a solid, continuous mounting surface across the full track length, gives you flexibility to position the track exactly where you need it, and adds structural support for the door's weight. If you're installing a header board regardless, it can double as your trim clearance solution.
Trim clearance kits are a separate purchase for all hardware kits — they are not included by default. See our standard sliding hardware and heavy duty hardware collections. If you're not sure whether your trim projection requires a kit, measure from the wall surface to the outermost face of the trim and email us before ordering.
This is the approach we recommend for most customers replacing a hinged door with a barn door — it preserves the finished look of the existing casing, avoids drywall repair, and adds minimal complexity to the installation.
Option 2: remove the trim
Removing the door casing allows the hardware to mount at the standard 3/8" offset without any additional spacers. The door clears the wall cleanly and the installation is straightforward. The tradeoff is what's left after the trim comes off.
Standard door casing covers the gap between the rough opening and the finished drywall. Remove the casing and you'll likely have exposed drywall edges, paint lines where the casing was, and possibly drywall damage from the removal itself. Getting the wall back to a finished state requires patching, skimming, sanding, priming, and painting — and matching the existing paint color on a patch is rarely perfect.
For most customers, removing the trim is more work and more cost than simply adding a trim clearance kit. Where it makes sense:
- You're doing a full room renovation anyway and the walls will be repainted
- The existing trim is damaged or you're planning to replace it with a different profile
- You specifically want the clean, frameless look of a barn door without any casing around the opening
- The trim projection is unusually deep and a trim clearance kit would push the door too far from the wall for your aesthetic preference — in that case, browse our barn style doors guide to find a lower-profile option that works with your wall depth
If none of those apply, the trim clearance kit is the simpler path.
How to measure your trim before ordering
Before deciding on a trim clearance kit or removal, measure the actual projection of your trim from the wall surface. Hold a ruler or tape measure flat against the wall beside the casing and measure straight out to the face of the trim. This is the projection depth that determines what spacers you need.
Measure at multiple points — top of the casing, sides, and at the baseboard if it projects further than the casing. The largest measurement is the one that matters. If your baseboard projects further than the door casing, the door will contact the baseboard before the casing becomes a problem along the travel path.
If you're unsure what you're measuring or what the result means for your hardware order, email us at info@thebarndoorhardwarestore.com with the projection depth and the hardware kit you're considering. We'll confirm what you need before anything ships.
Frequently asked questions
What does a trim clearance kit include?
A trim clearance kit includes additional spacers that stack onto the spacers already in your hardware kit, plus longer lag bolts to safely secure the hardware at the increased depth. The spacers push the track further from the wall so the door clears the trim with adequate clearance. The longer bolts are required because the original bolts aren't long enough to reach the wall studs at the greater depth — using the original bolts at extended depth is a structural issue, not just a fitting issue.
What happens if I install barn door hardware without accounting for trim?
The door will contact the trim as it slides. Depending on how much the trim projects, this ranges from light rubbing that adds friction to the slide, to the door catching and stopping against the casing entirely. In either case the door won't operate correctly and the trim or door finish may be damaged over time from repeated contact.
Is trim clearance handled differently for standard vs. heavy duty hardware?
Trim clearance kits are a separate purchase for all hardware — standard duty and heavy duty. If you have any existing door casing, add the trim clearance kit to your order before checkout. Alternatively, a header board installation clears trim and provides structural support without requiring a kit — see the header board note above. Browse our standard sliding hardware and heavy duty hardware for compatible kits.
What about baseboards along the door's travel path?
Baseboards that project from the wall along the path the door travels are handled the same way as door casing — the door needs enough clearance to slide past them without contact. Measure the baseboard projection the same way you'd measure the door casing. If the baseboard projects further than the casing, use the baseboard measurement to determine your spacer depth. In some installations, baseboards are notched or removed along the door's travel path — email us if your baseboard situation is unusual and we can advise before you order.
Is removing the trim worth it for a cleaner look?
Only if you're doing other wall work at the same time. Removing trim exposes raw drywall edges and leaves paint lines and wall damage that need to be patched, skimmed, and repainted to get back to a finished state. For most installations, a trim clearance kit gets you a properly installed barn door without any of that work. The door sits further from the wall with the additional spacers — typically not noticeable in normal use — and the existing casing stays intact.
Not sure what your trim situation requires?
Email us at info@thebarndoorhardwarestore.com with the projection depth of your door casing, your baseboard depth if it projects further, and the hardware kit you're considering. We'll confirm whether you need a trim clearance kit and what spacer depth is right for your trim before anything ships. Available 7 days a week.
